Thursday 28 February 2019

Happy Birthday - Geometric

Hi!
Sharing a quick card I made using some cardstock scraps. 

Here's my card!


I fussy cut some rectangles from colourful cardstocks. On a card base, I stamped the sentiment. Foam mounted the rectangles in descending order. Foam mounted a candle. Added stitched lines to all the rectangles.


Playing along with
 

Saturday 23 February 2019

Love Roses

Hello everyone.
It's time for a new challenge over at Inkspirational challenges.

The theme is to use your stash.
I made these two mini note cards for the same.


I have used a stamp set by Stamplorations. I had bought the set sometime back and not used it before this. 
"Using your stash" made me go through all my stamps and that's when I realized how many stamps are still waiting to be inked. Hopefully, it will change soon. 

I have coloured the roses on my cards using zig clean markers. 


Close up pictures.


Hop over to the challenge blog to see more amazing inspirations by my teammates.

Linking my card with
(Latest in terms of use)


I love books

Hello...
I have a card today as my DT post for Time for 
Tea designs.


I am using their new released digital image for this card.
This Digi is called as Reading Rosie and Ralph.
You may find her here.

I have coloured it with Zig markers. Fussy cut and adhered it to a white card base. I added a strip of pattern paper and a line of sentiment to complete my card.

Thank you for stopping by!

Playing along with


Wednesday 20 February 2019

Hello Beautiful layout!

Hello everyone! 
 I am here with an adorable scrapbook layout made using the Love Story paper pack from Itsy Bitsy. This paper pack has some beautifully printed linen papers. The prints of the paper are perfect for any love themed projects. And as we are still in February, a month of love, I decided to make a Layout using this pack. 

 I began by taking an 8"x8" square white textured cardstock from the store.  Next, I took a strip of the script paper from the pack.  
I distressed it at the edge by just ripping it with hands.


I took the elements sheet from the Floral Ballet paper pack from the store and fussy cut a few watercolour floral arrangements.


   I arranged the paper strip and floral on the base to understand how I want to add the other details.


Once, I was sure of the arrangement, I removed the floral and stamped a few leaves and other fillers. I have used two stamp sets.  Adhered the paper strip in place.  Added a few colour splatters on the base.


 I randomly cut a few pieces of other papers from the Love Story pack. I also printed a photo. Picture credit - Pixabay. I began by adhering the papers on the base, foam mounting a few layers.  Mounted the photo on them.


 Mounted the floral arrangement ass decided. By adding foam tape in between to elevate it. I added the gold glittery "hello" sentiment from the embellishments pack.  Stamped the other sentiments from my stash. Stamped few butterflies and other details in the overall layout.


 Stamped few leaves in the other corner and adhered one smaller floral arrangement to complete the layout.


Here's the final look.


 That's all from me today! 
 It is always a pleasure to know how you like the project and the tutorial. Please pour in your feedback in the comments below, I find them to be very motivating. 

 Thank you and till the next time Happy Crafting! 


Wednesday 13 February 2019

You have my heart

Hello everyone!
I am sharing a quick card I made especially for my friend Sandie's Time-Out challenge!
It is a photo challenge this time. 

Here's my card!

The nine hearts together in the challenge photo inspired me to make this design. 
I die-cut the hearts, arranged them on a top folding card base. Adhered the"X-O" die-cuts. Foam mounted the sentiment.


Playing along with
(I have used Spellbinders pierced hearts die)


Saturday 9 February 2019

Love Love Love!

Hello friends...
It's time for a new challenge over at Inkspirational.
The theme for the challenge is word prompt TEXT.
This is my take on the theme.


I am currently preparing for a pop up shop for Valentine's day (which is today 9th Feb) so covered fully with love all around...lol...
My card today is also full of love (literally)
I stamped the sentiment repeatedly over a white cardstock using multiple coloured inks.
Foam mounted this on a white card base with a Matt of a colourful pattern paper on one side. 


Lastly added two tiny hearts  to complete the card.
Hop over to the blog to check some amazing inspirations by the DT.

Hugs,
Anila

Always in my heart

Hello friends,
I am super excited to be sharing my first card as the DT member of Time for tea designs. 
Do check out their new store here.

Here is my card.


For the card I have used the Phoebe hugs Digi from the store.

I stencilled a soft background on a white cardstock. Stamped the sentiment. Watercoloured the image and fussy cut it. Adhered it to the cardstock. Foam mounted this to the card base. Added glossy accent to the heart to make it pop a little.

That's it and my card is ready. 
Thank you for stopping by.

Wednesday 6 February 2019

Valentine's day cards

Hello friends,
Valentine's Day is just around the corner and I am here today to show you a set of cards I made for the occasion.
I have used two paper packs for my cards. Although the layouts remain same, simple changes in material, color play and sentiments make them all look very different from each other. Take a look.....and tell me in the comment section how you liked the idea!!

To begin with -
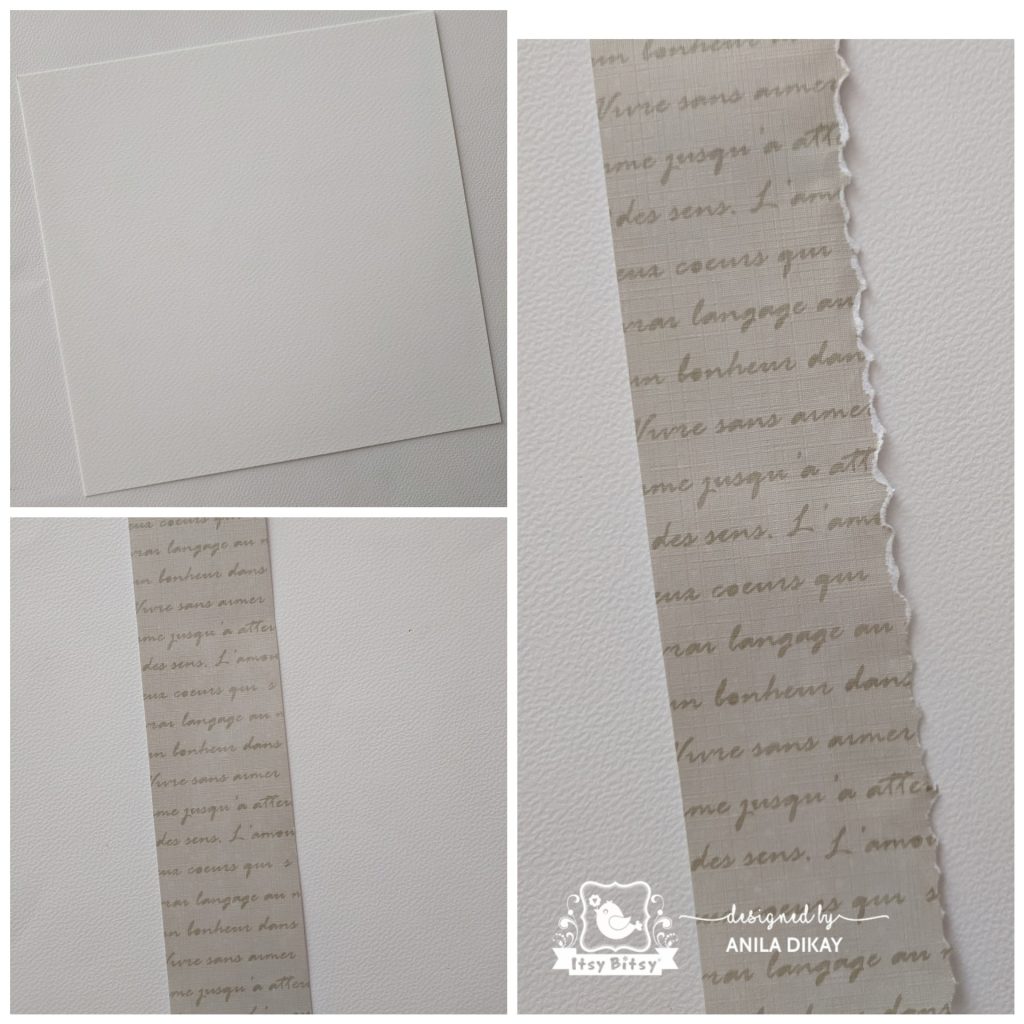
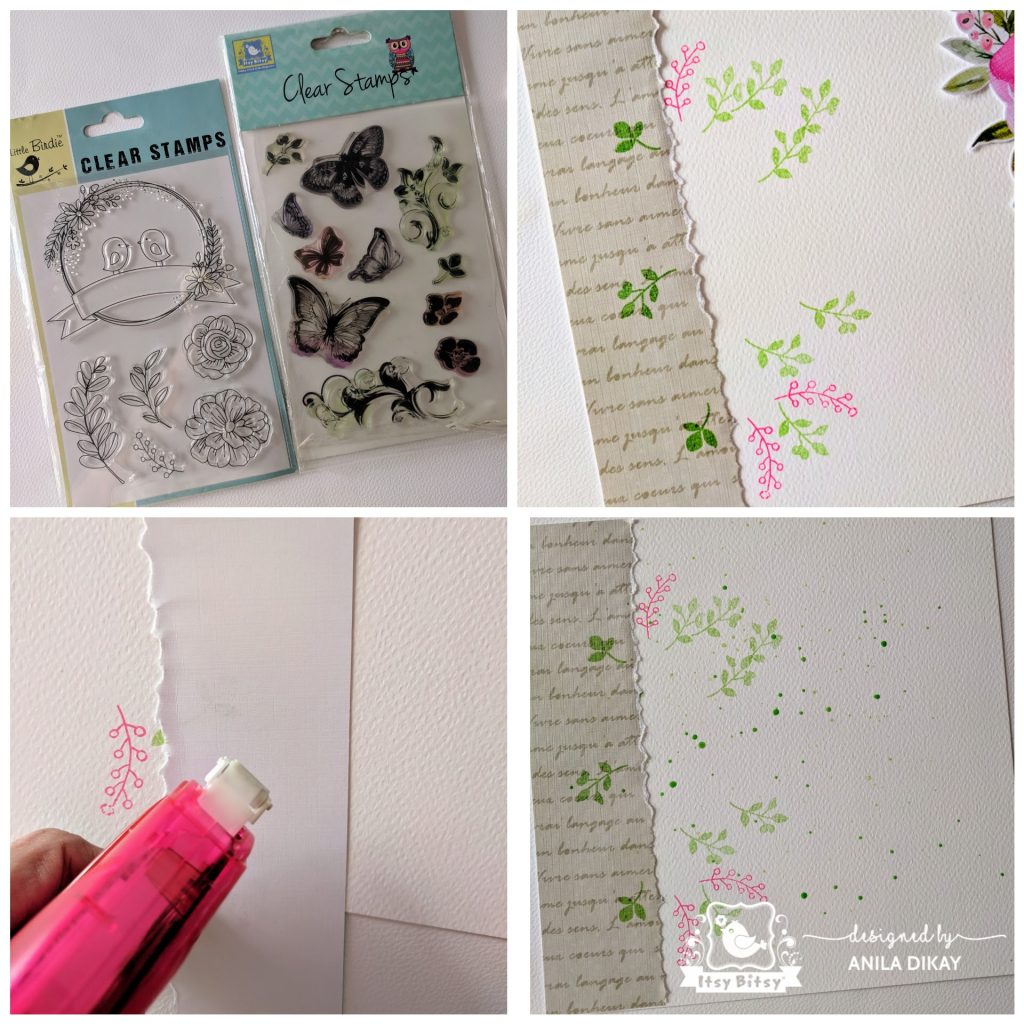
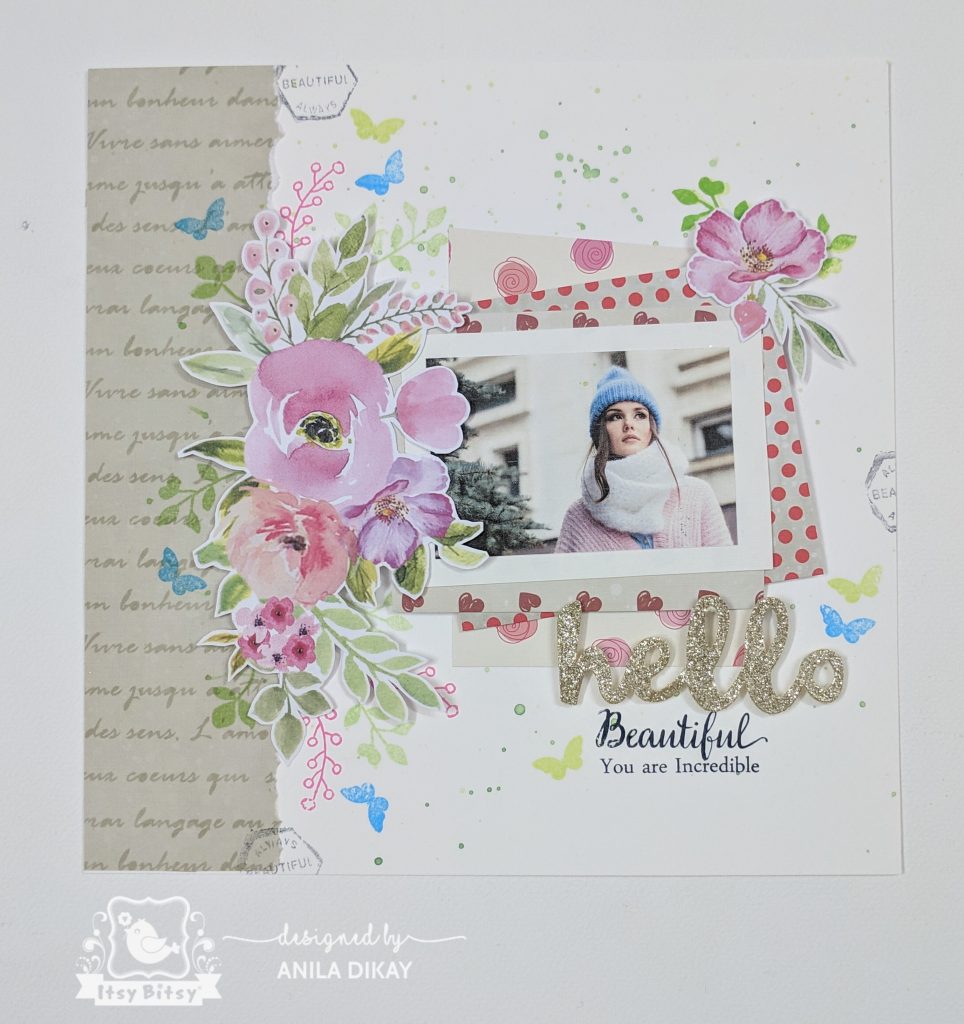
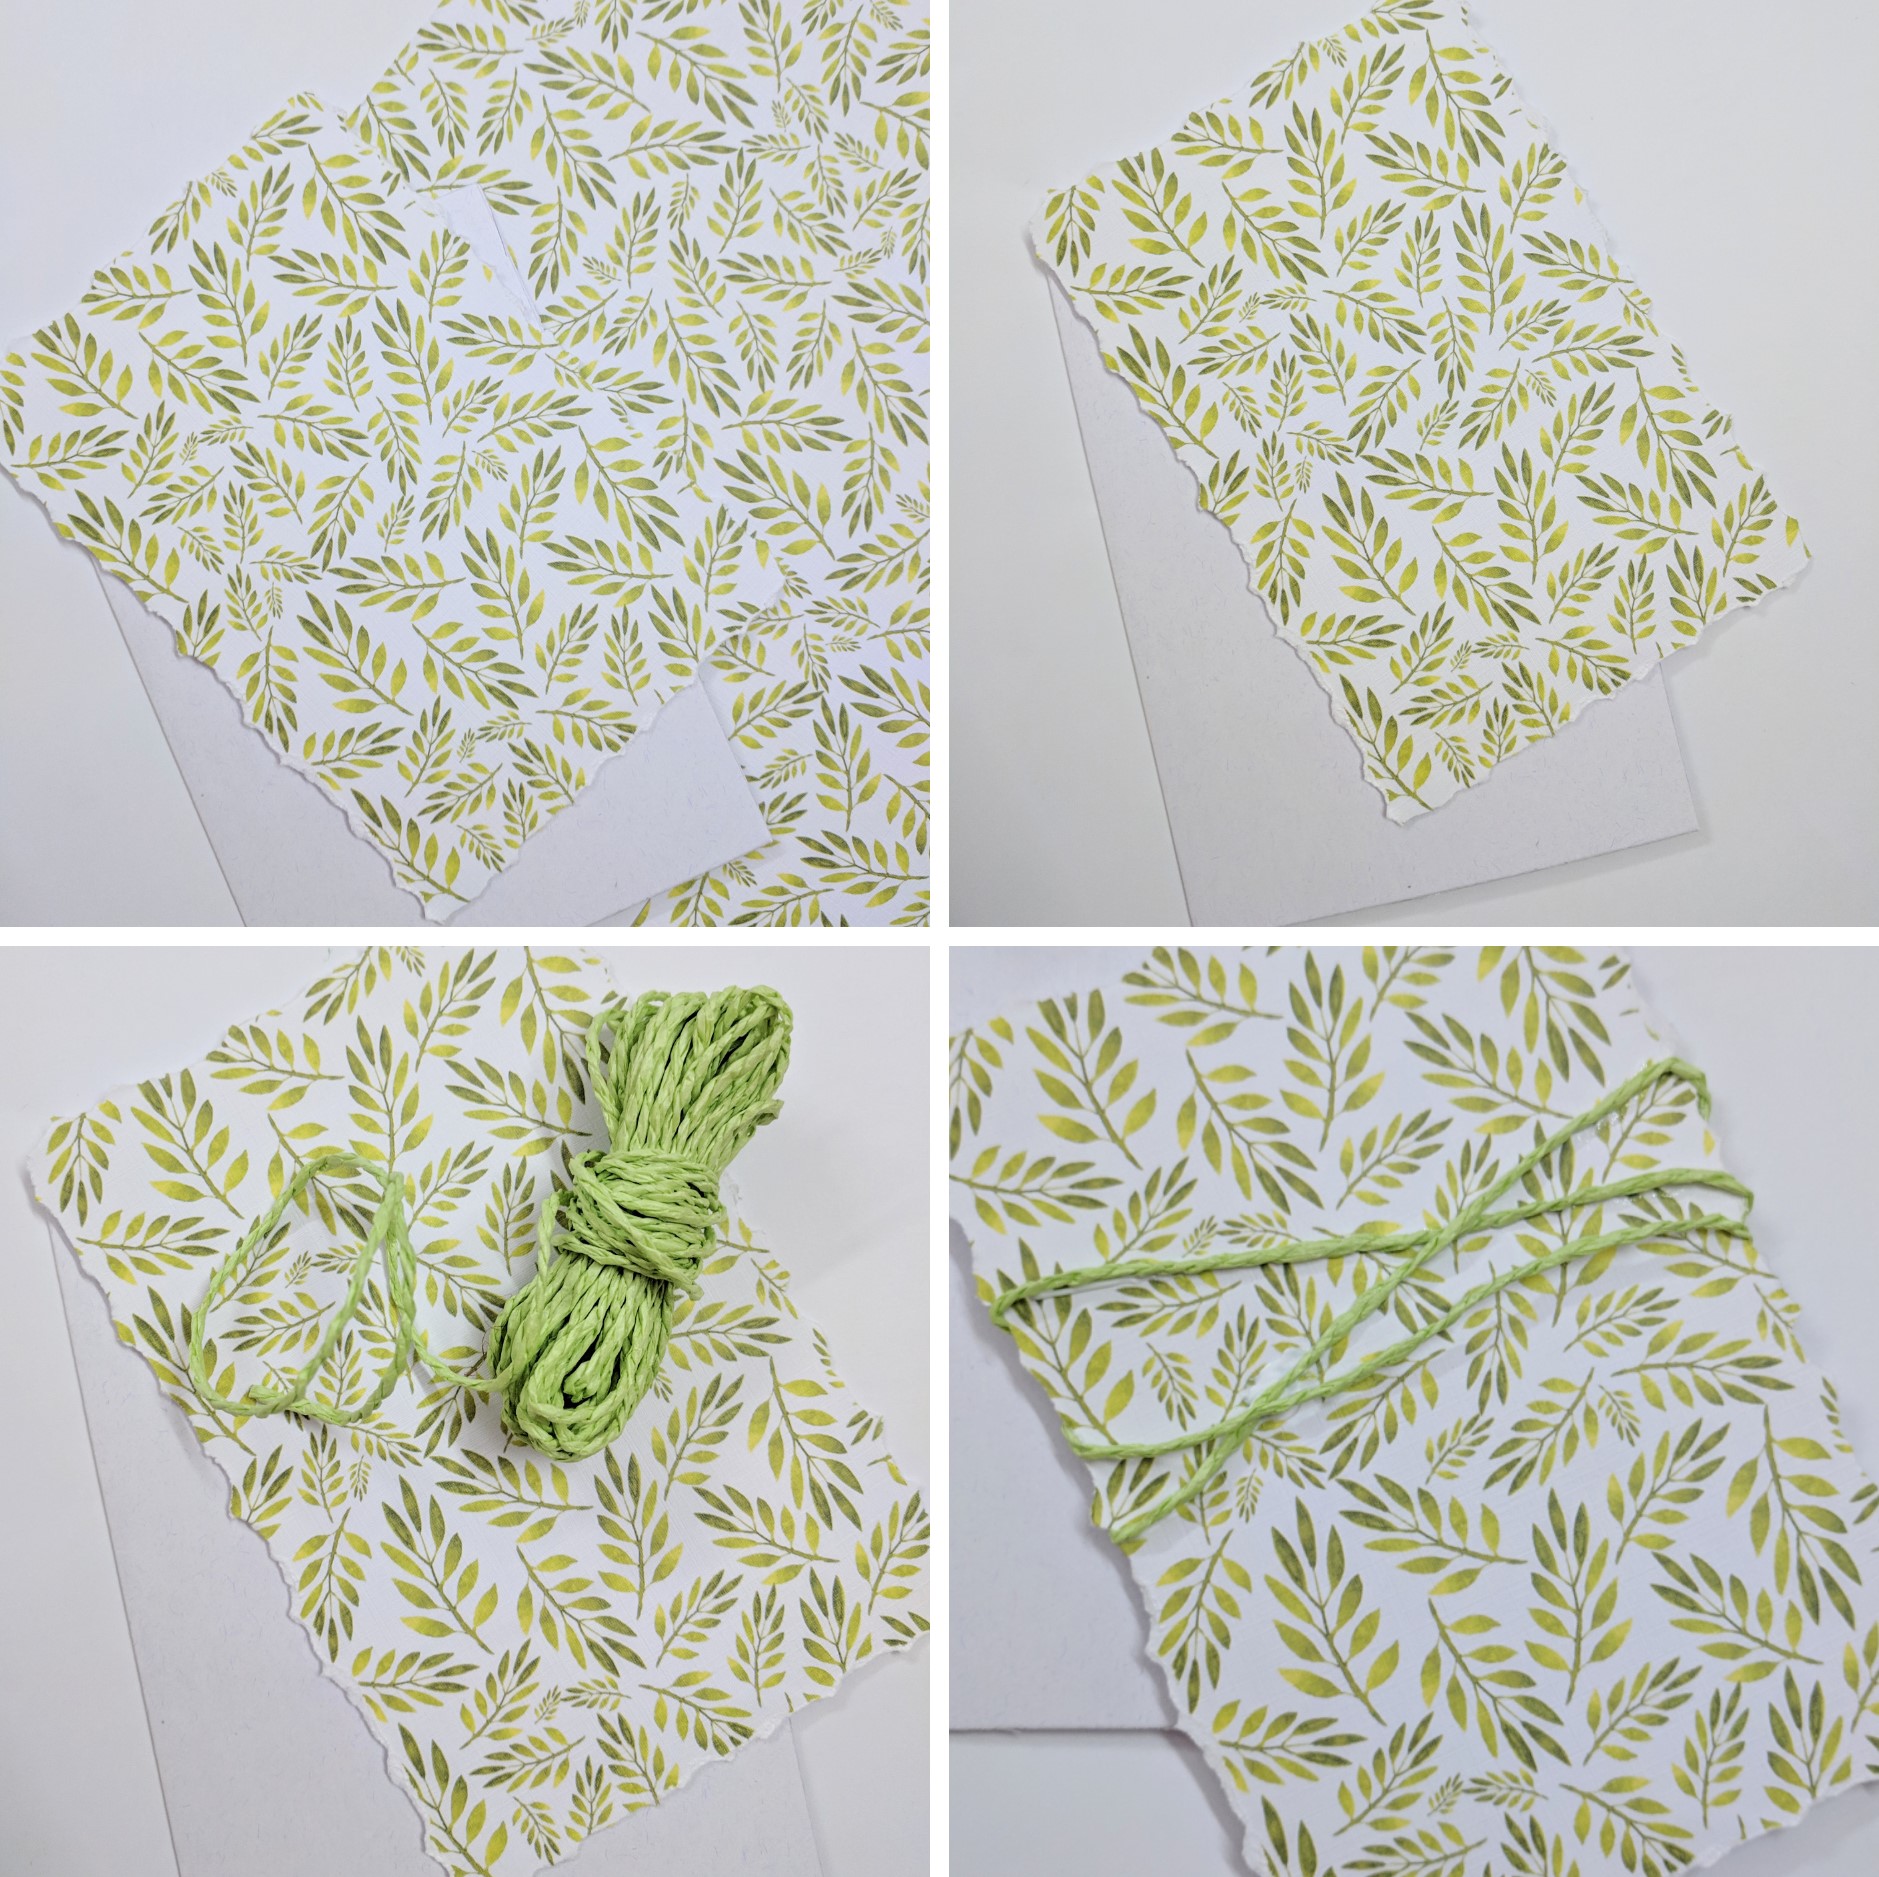
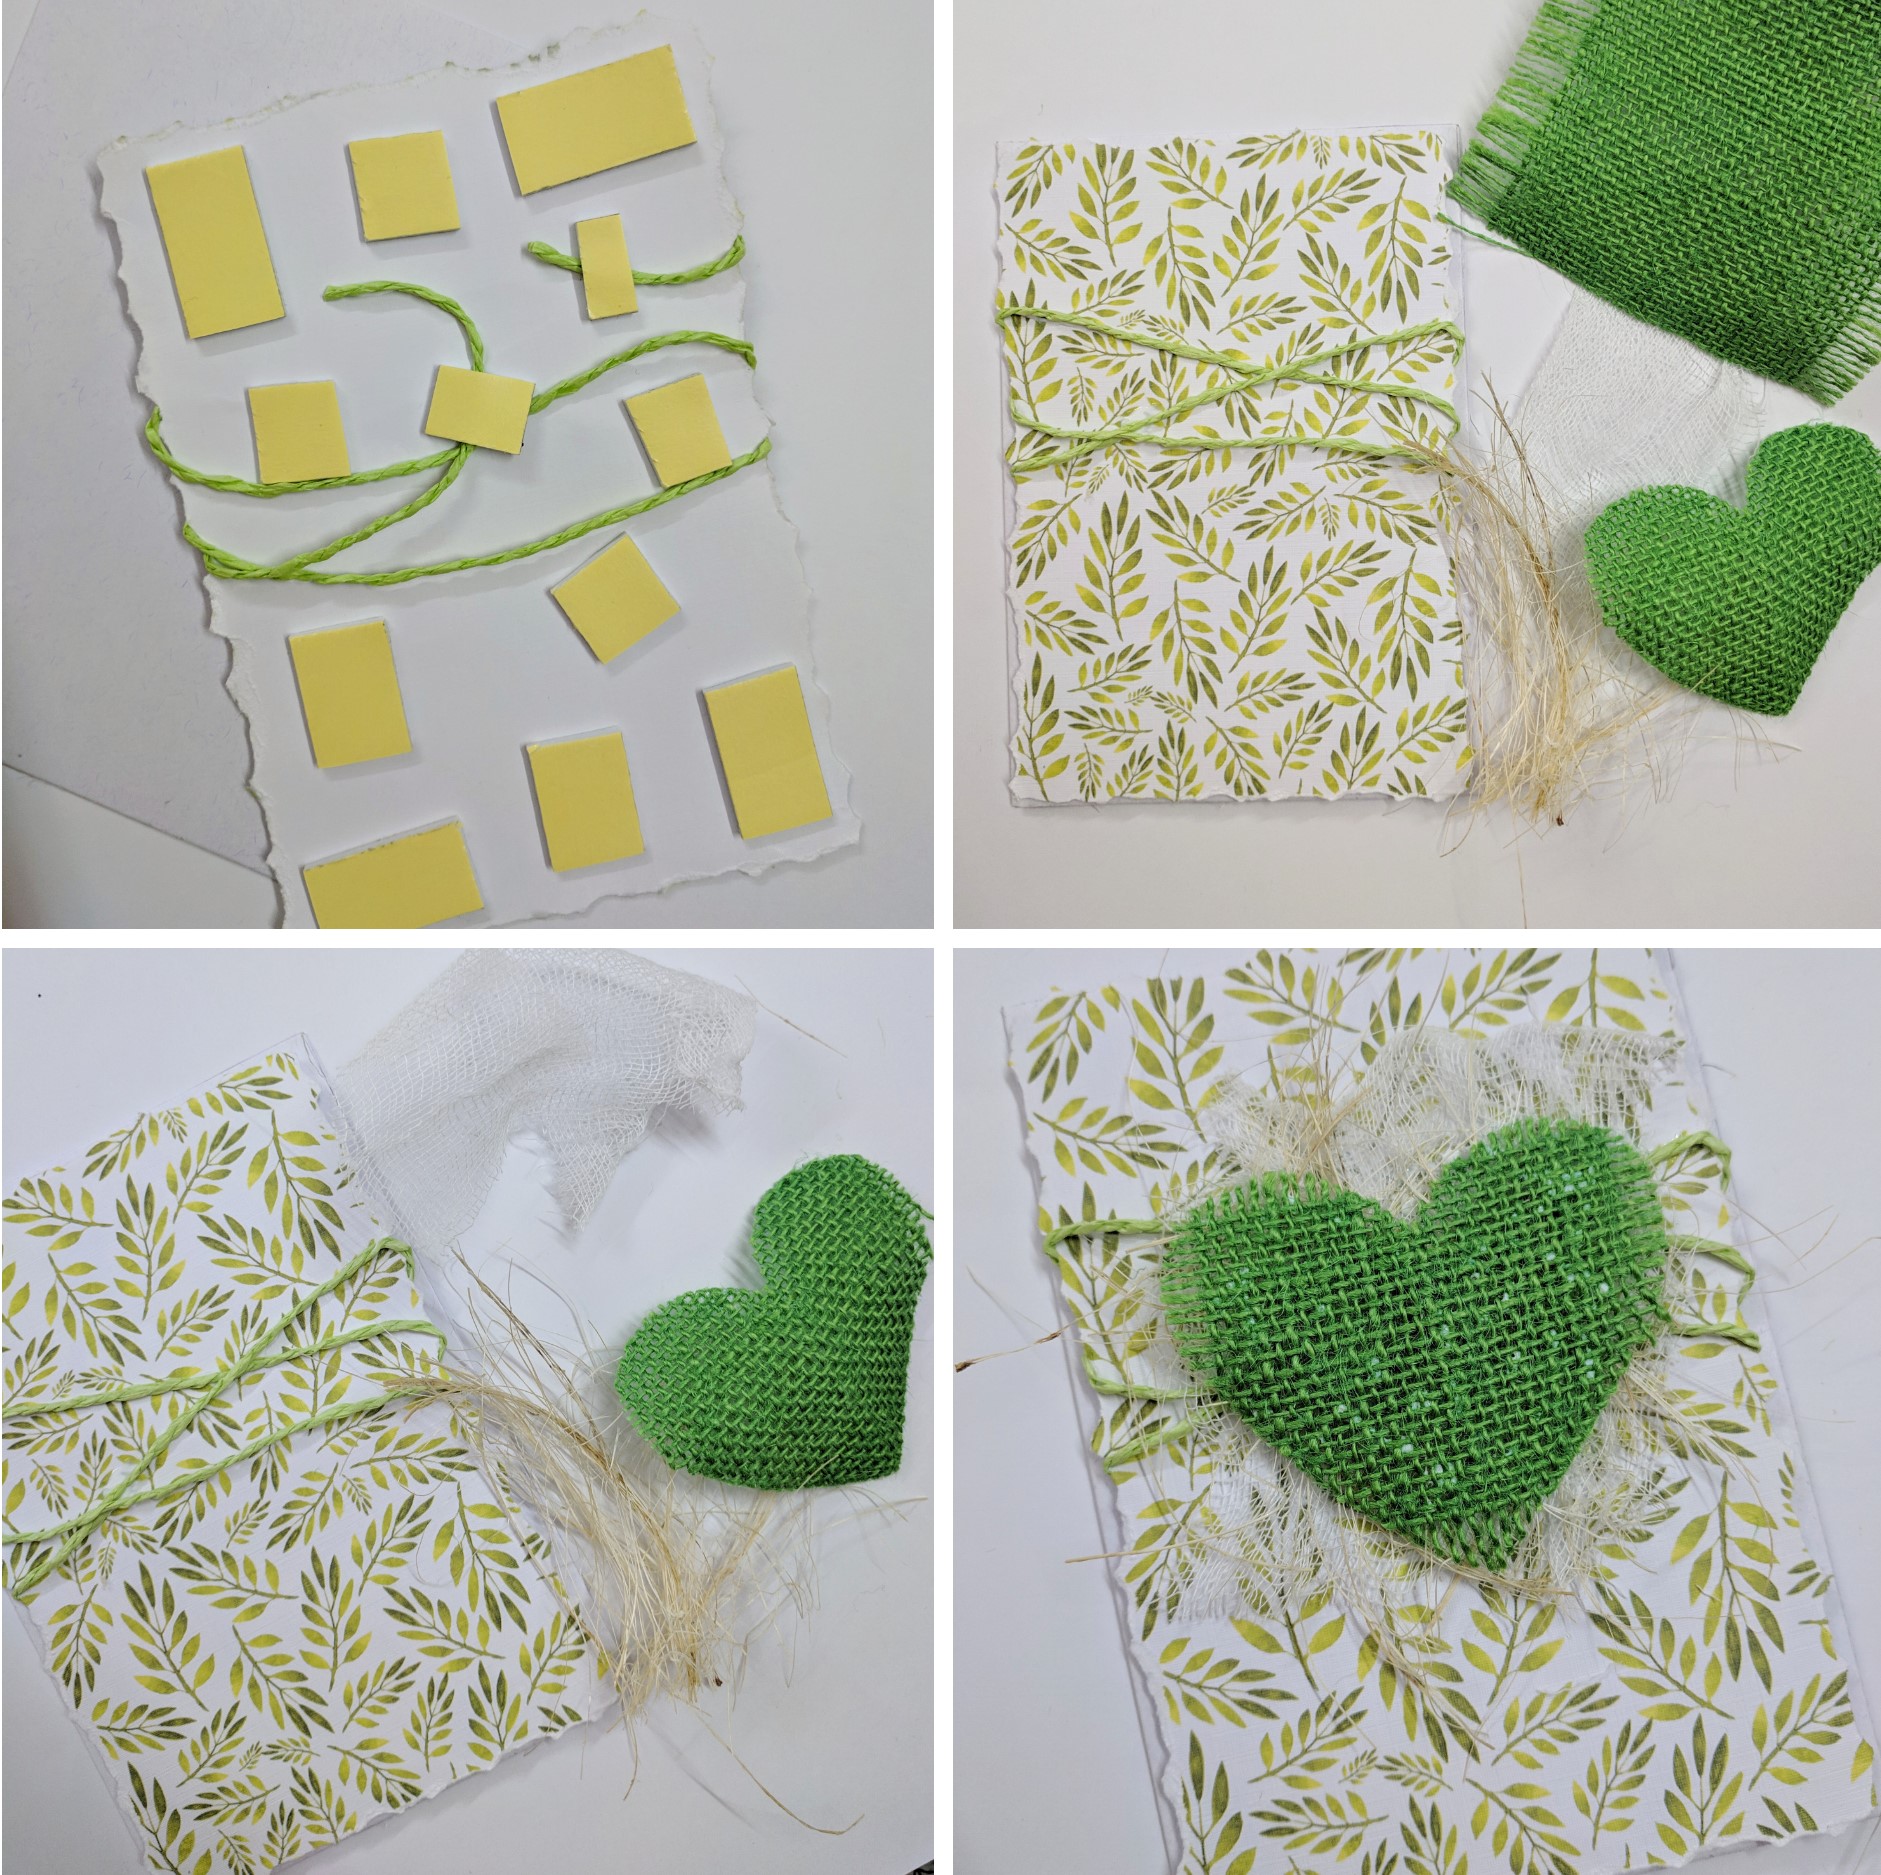
I selected a paper from the Watercolor Floral Ballet paper pack from Itsy Bitsy and cut 4"x6" piece from it. I distressed the piece all along the edges simply by pulling/tearing off the paper (maintaining the rectangular shape yet giving it rough edges)
I randomly wrapped a colour coordinating paper twine around the piece.


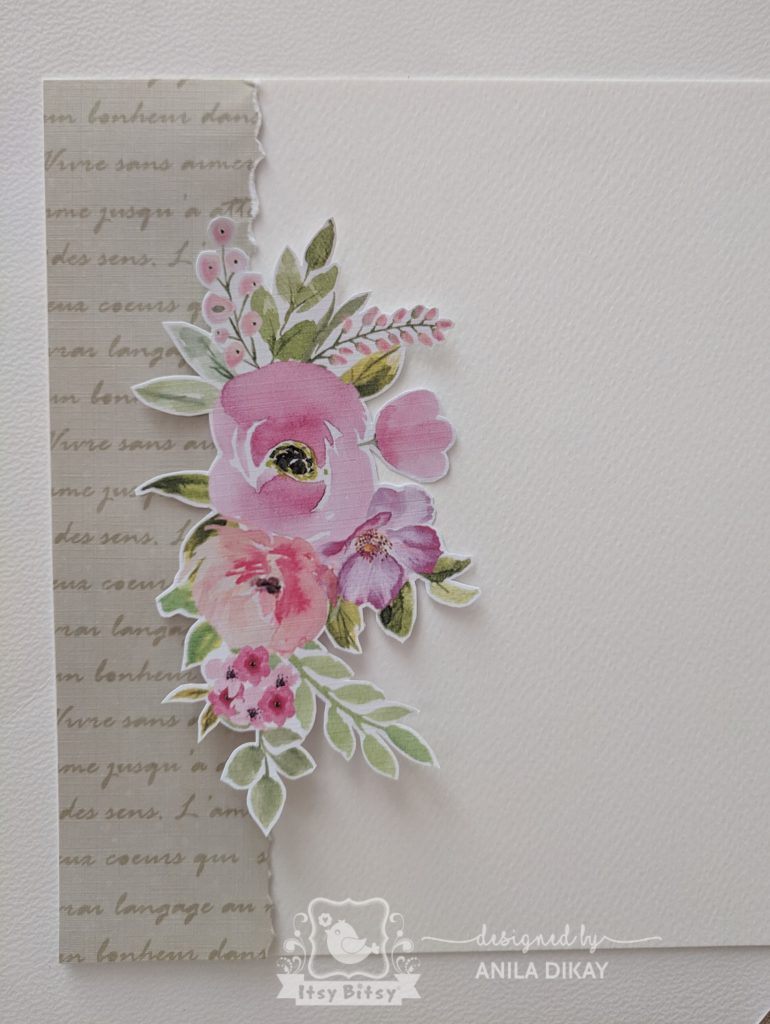
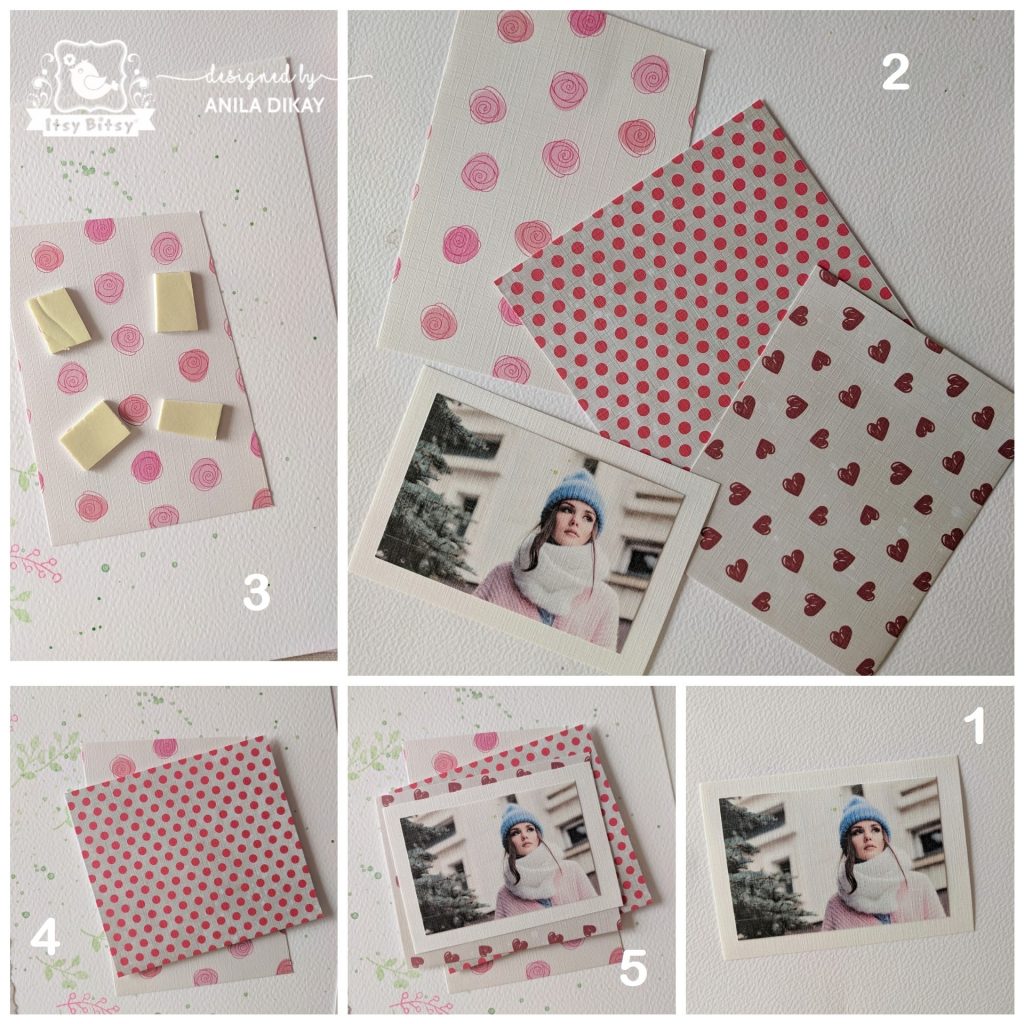
Stuck the loose ends of the twine at the rear-side under a double tape. I used double tape all over the piece to create some dimension. Mounted it over a card base.
From a jute roll, I cut a freehand heart shape. I collected some sisal fiber and cheesecloth pieces. Assembled them all over the card.


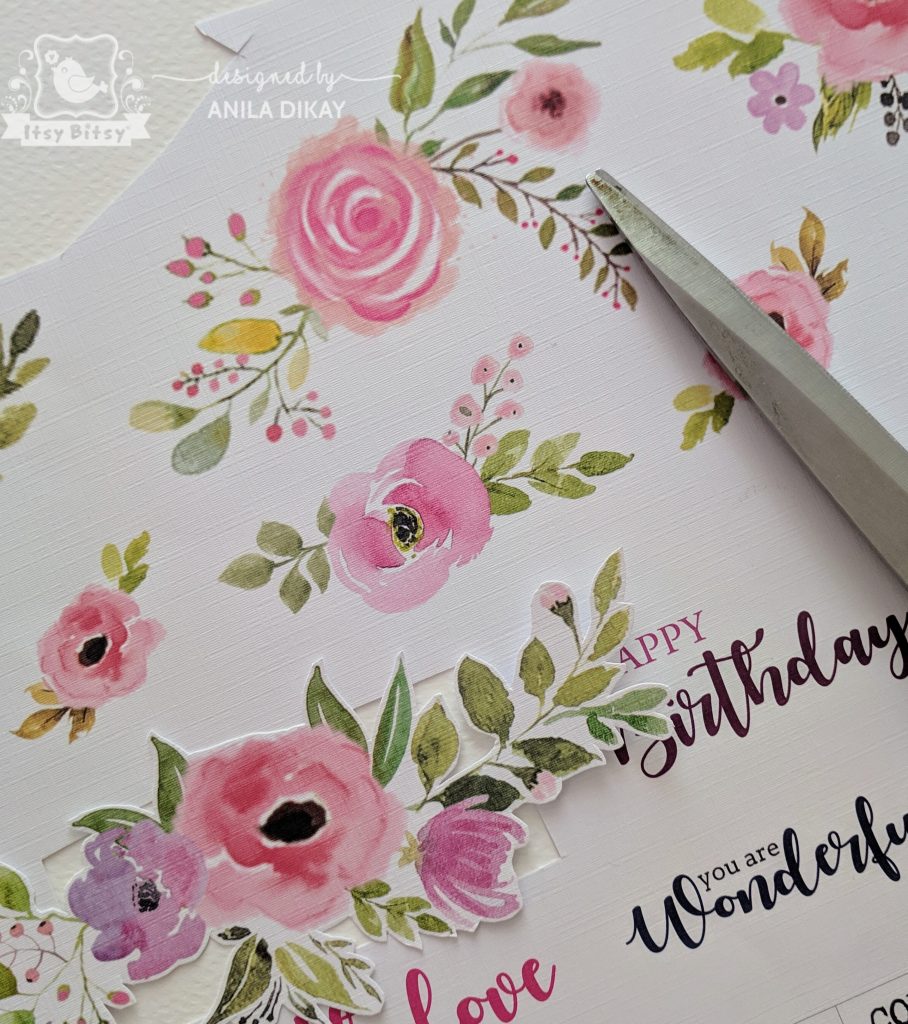
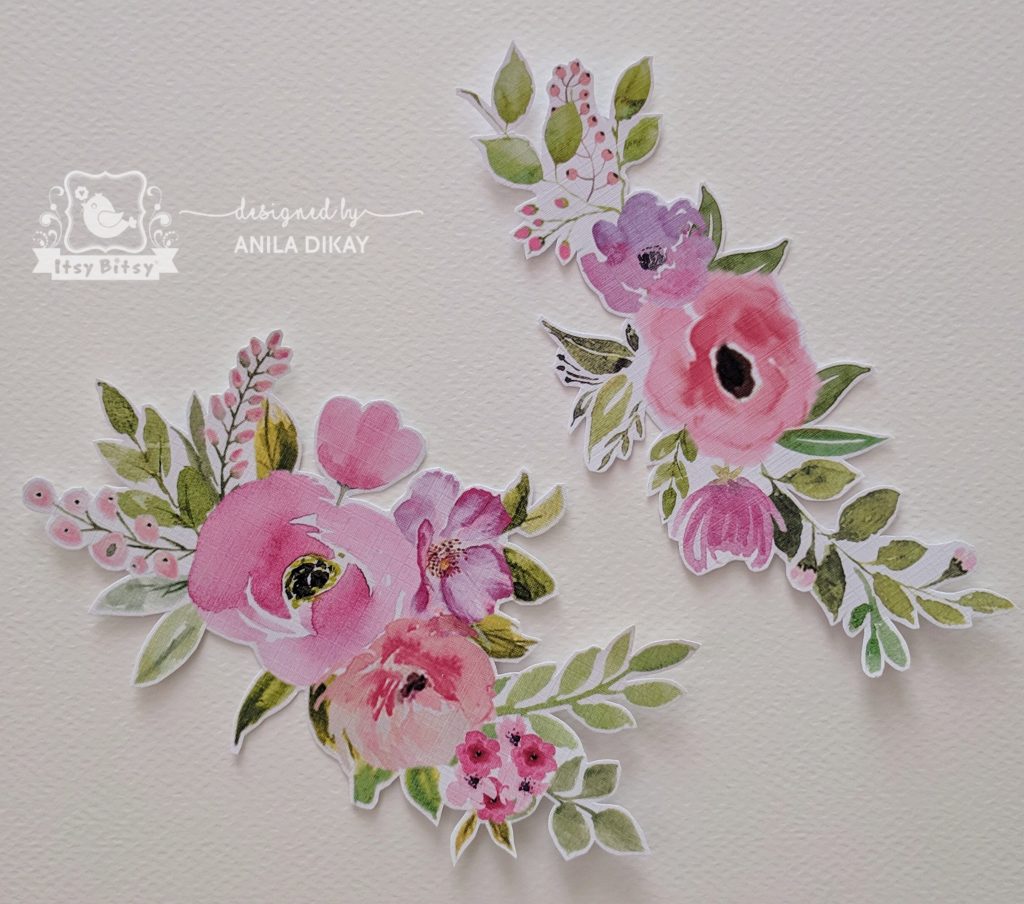
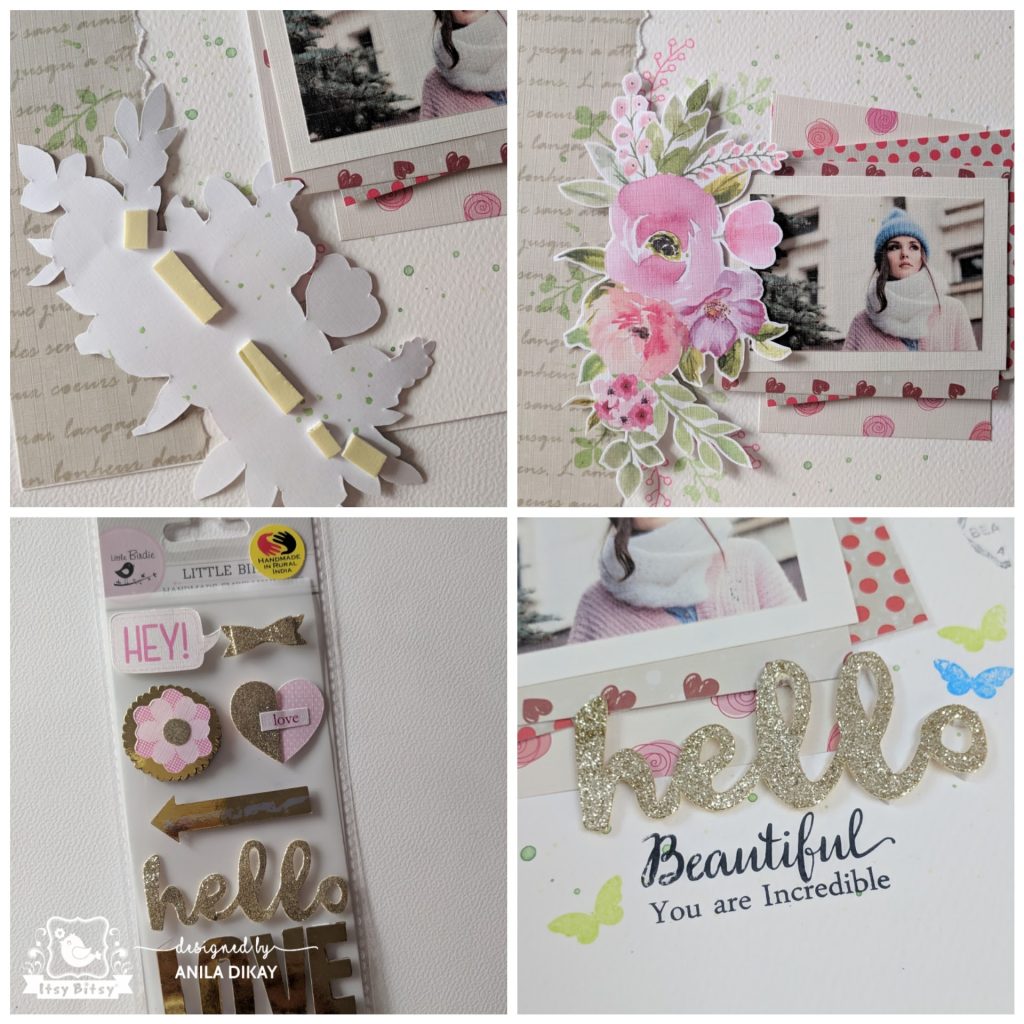
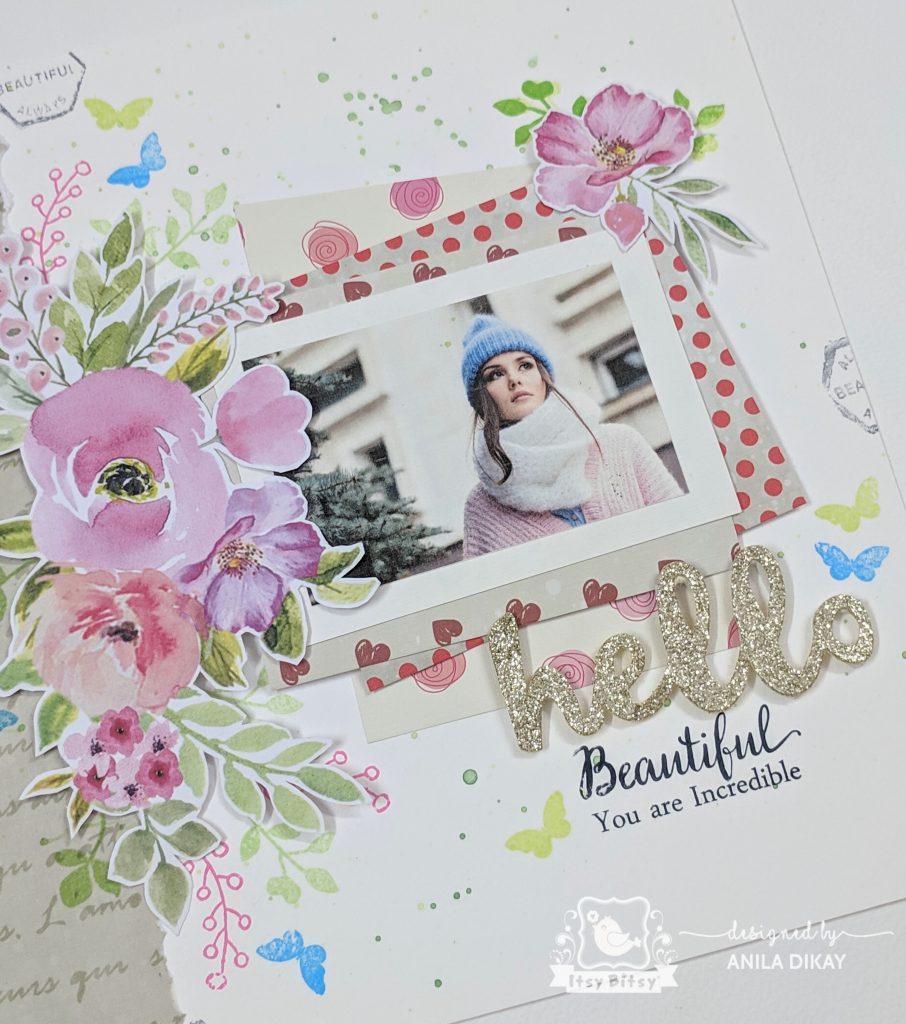
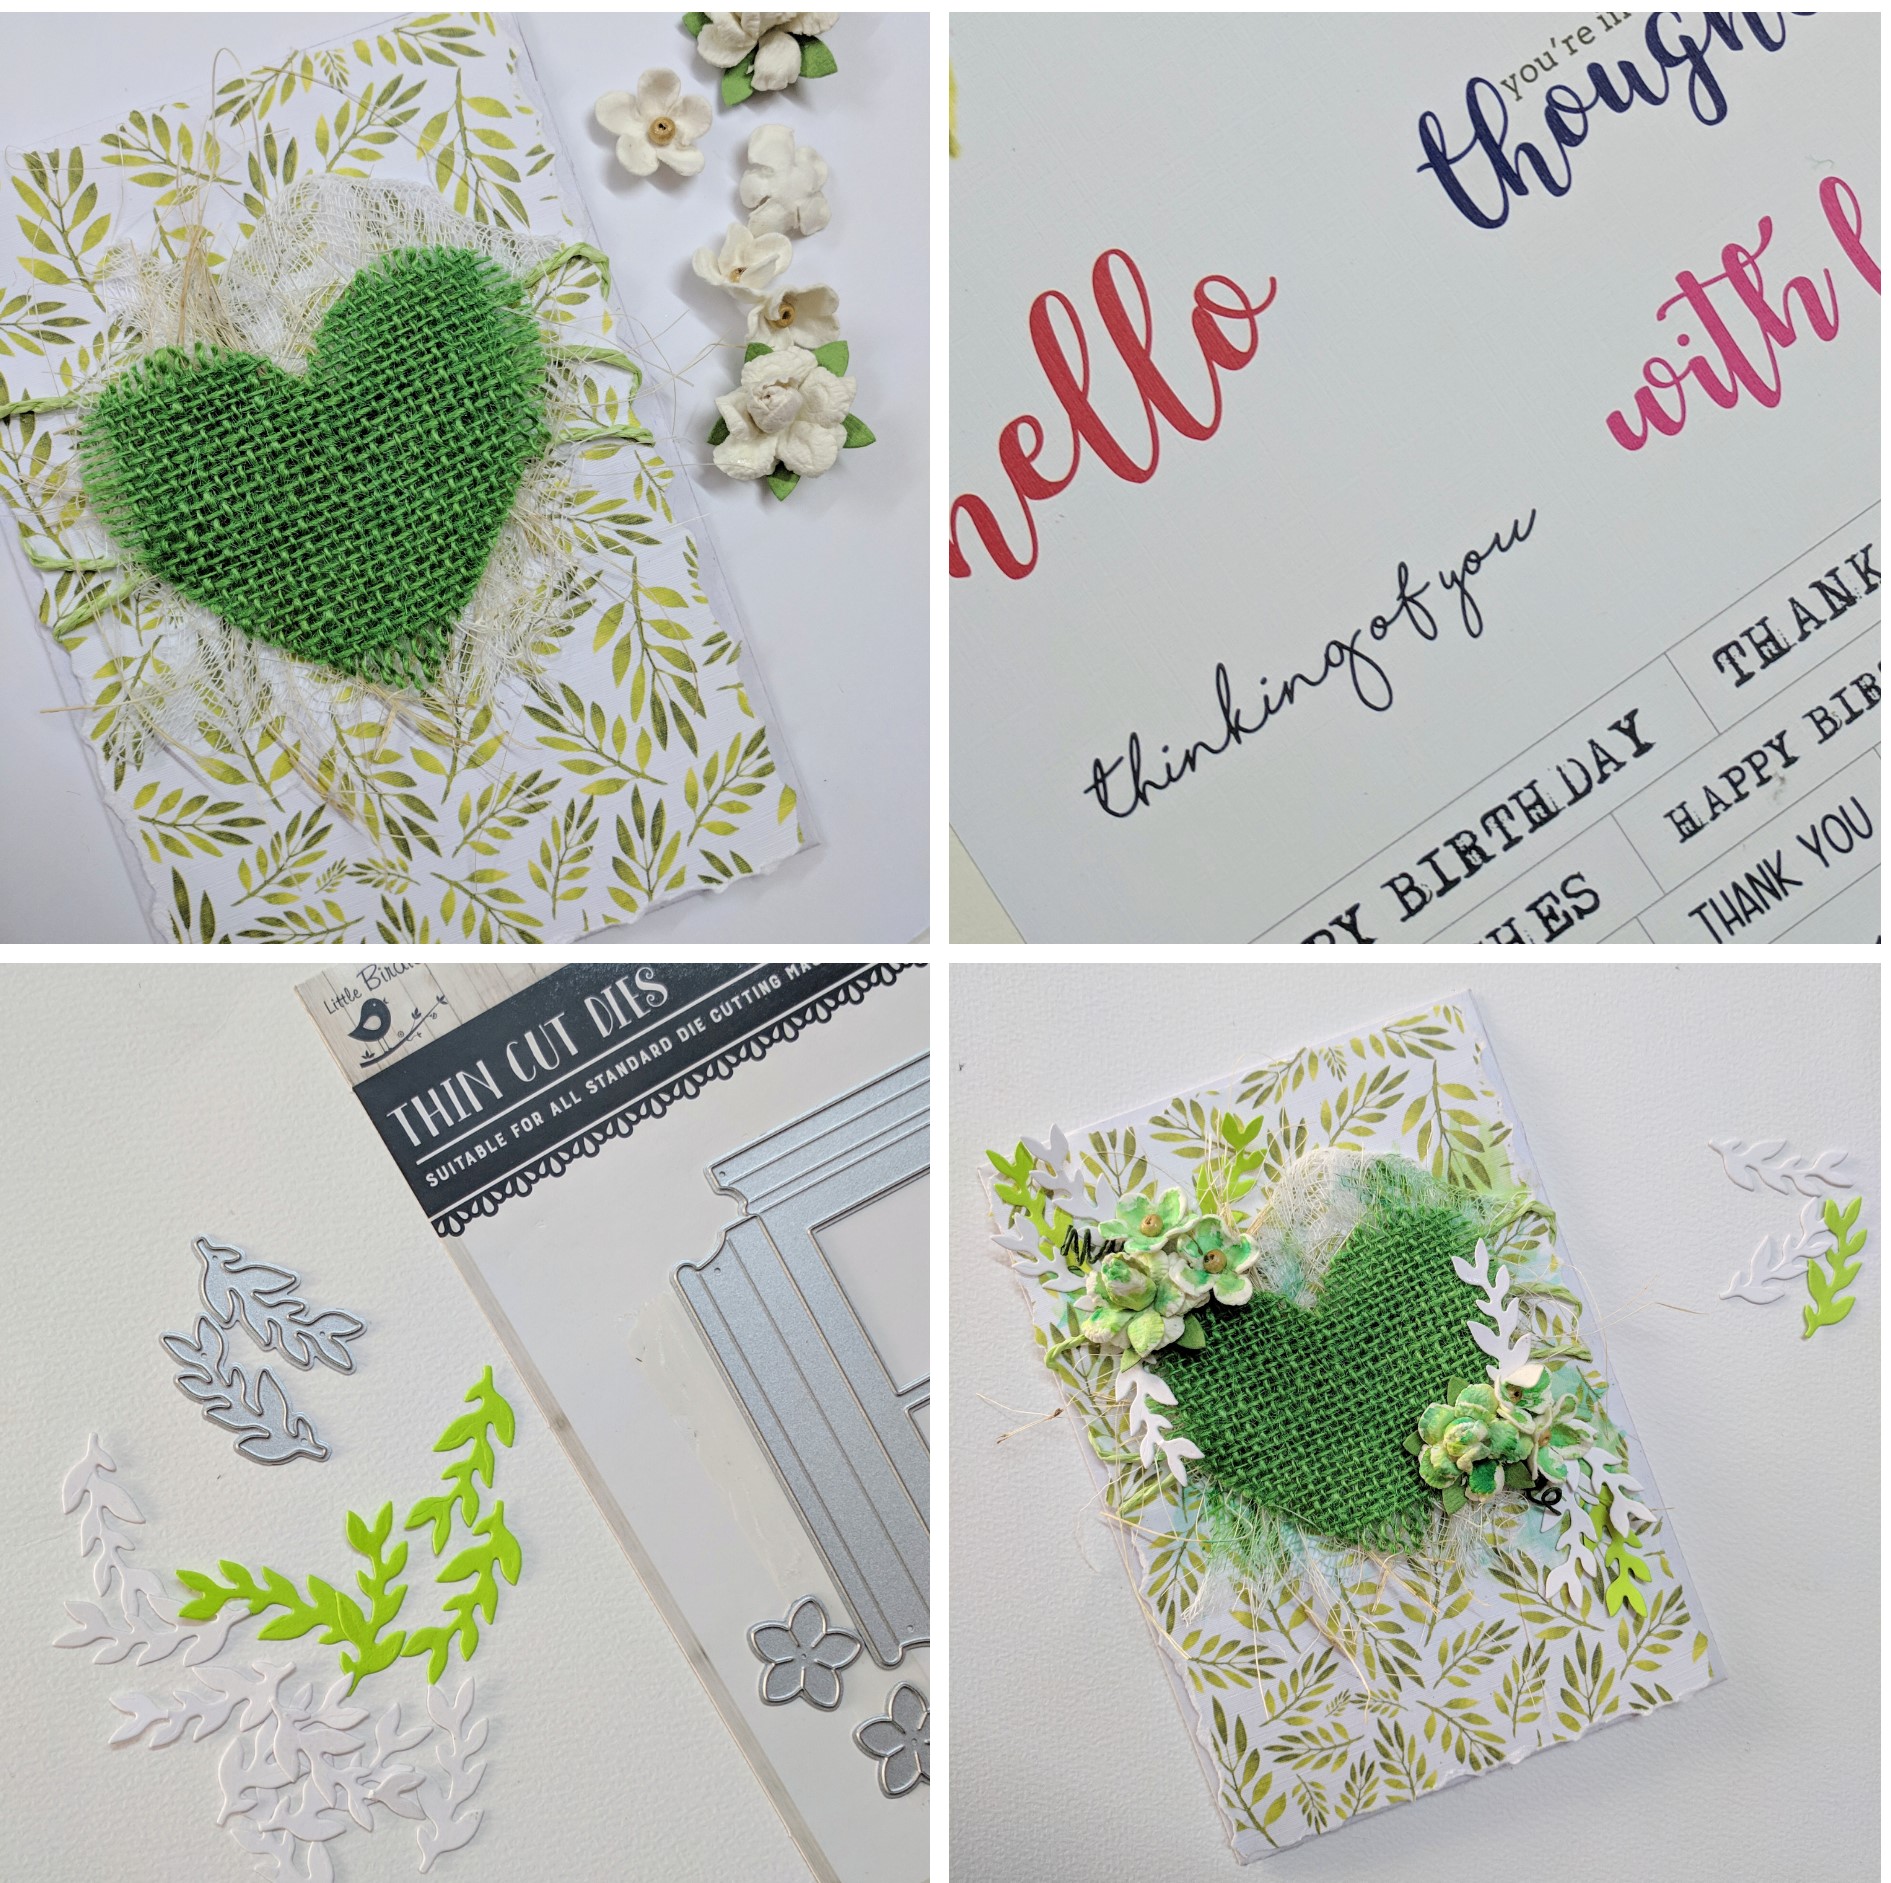
Used some embellishments like flowers, leaves, sentiments etc too. Flowers are from the store's floral collection. Leaves are die-cut from the Victorian Window die set. The sentiment is from the same paper pack.


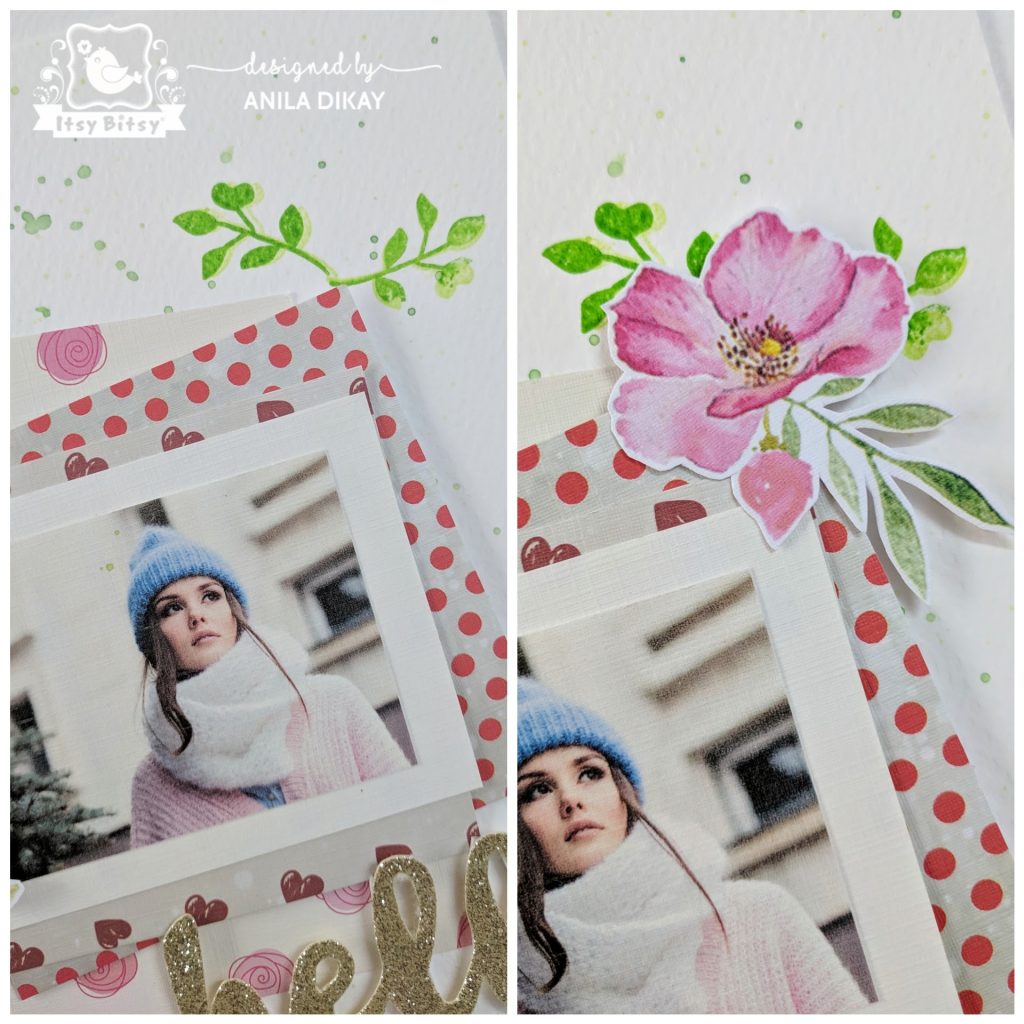
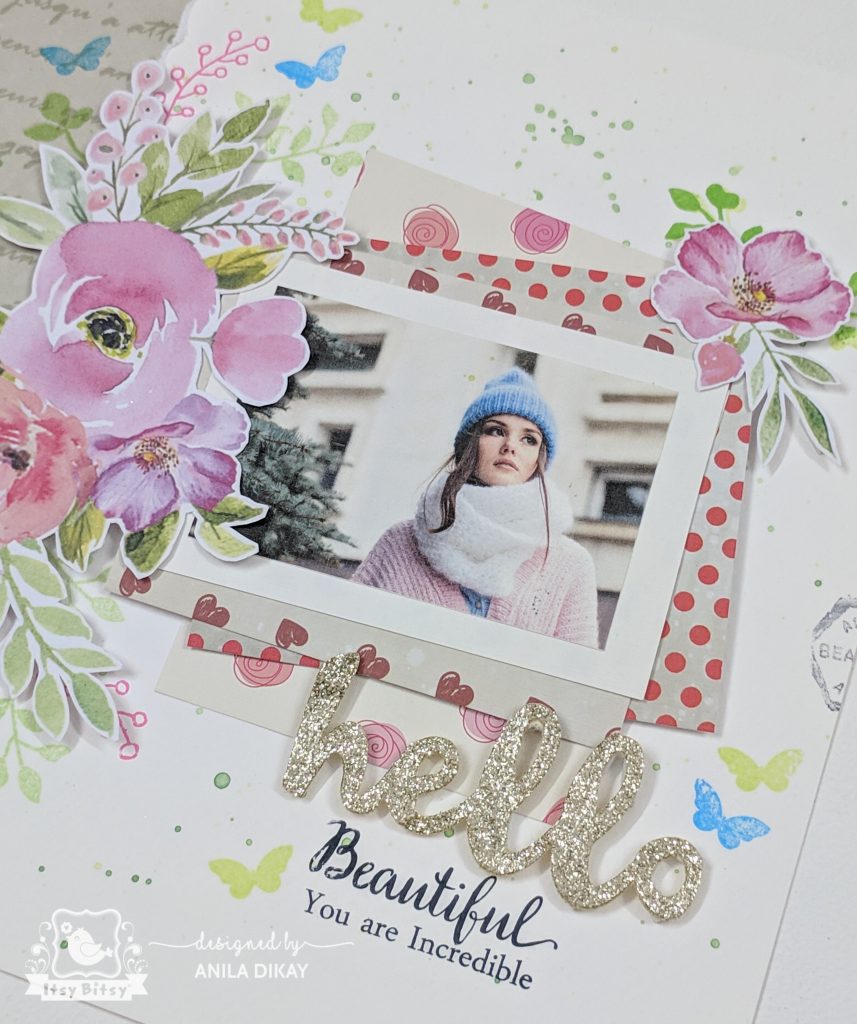
Assembled the flowers and leaves around two edges of the heart.  Added some coordinating colour wash to the flowers. I was not very careful and intricate while doing this. The sentiment was matted with a double tape (two layers in the middle and single at the sides) to give an arched effect and mounted across the heart.
I added few strokes of colours all over the card to make it all blend together and not look like a collection of separate elements.


The final look!!


Second card with the same design.
(The only change here is that I have used a felt heart)


Third card with the same design.
Here the base paper is from the Pretty in Pink paper pack.  Added some leaves from my stash. The sentiment is a primed chipboard.


That's all from me!
Thank you for stopping by!!
Anila