Showing posts with label itsybitsy. Show all posts

Monday, 11 March 2019

Sparkled cards - DT IB

Hello friends!
A few days back I shared a set of cards using the Little Birdie's Sparkling paste on their blog. I shared a step-by-step tutorial there. You may want to check it out HERE!

I am sharing the cards here on my blog today!
All these cards as made using Sparkling pastes in various techniques. 

Card 1


Card 2


Card 3


Card 4


Thank you for stopping by!

Wednesday, 20 February 2019

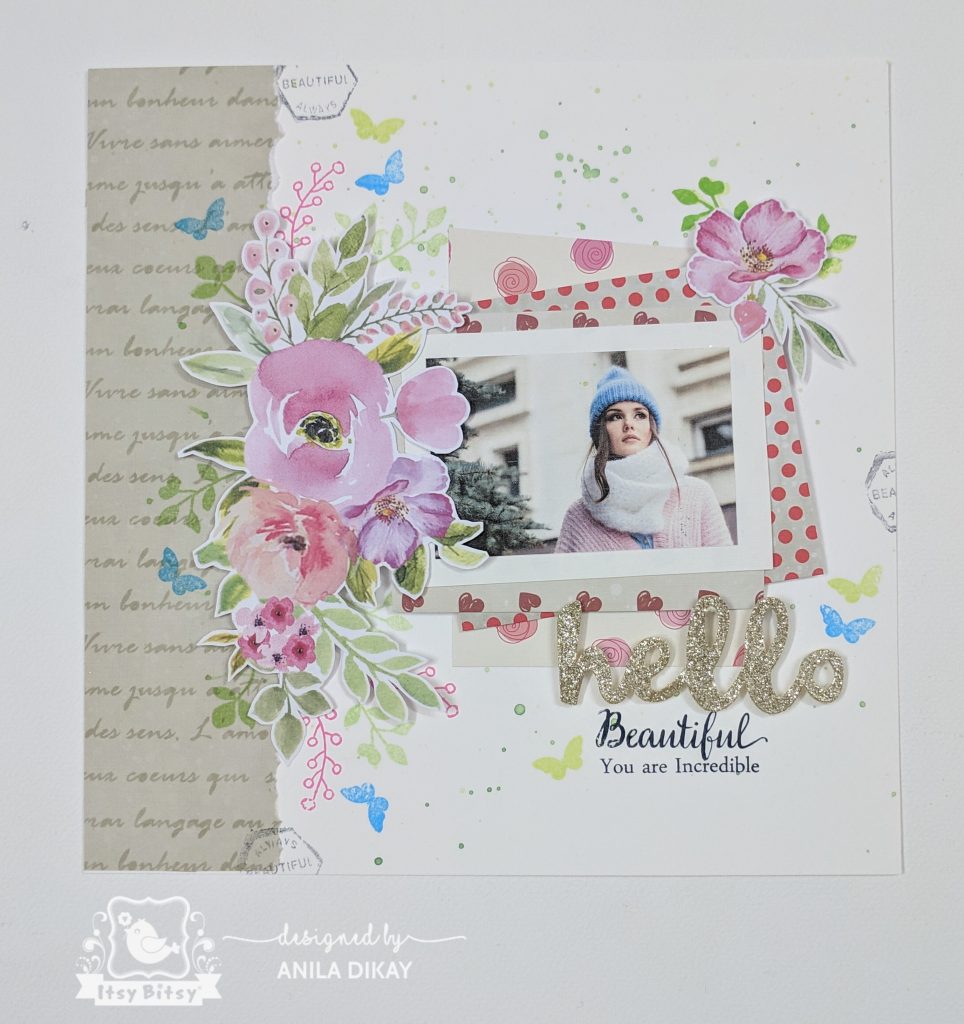
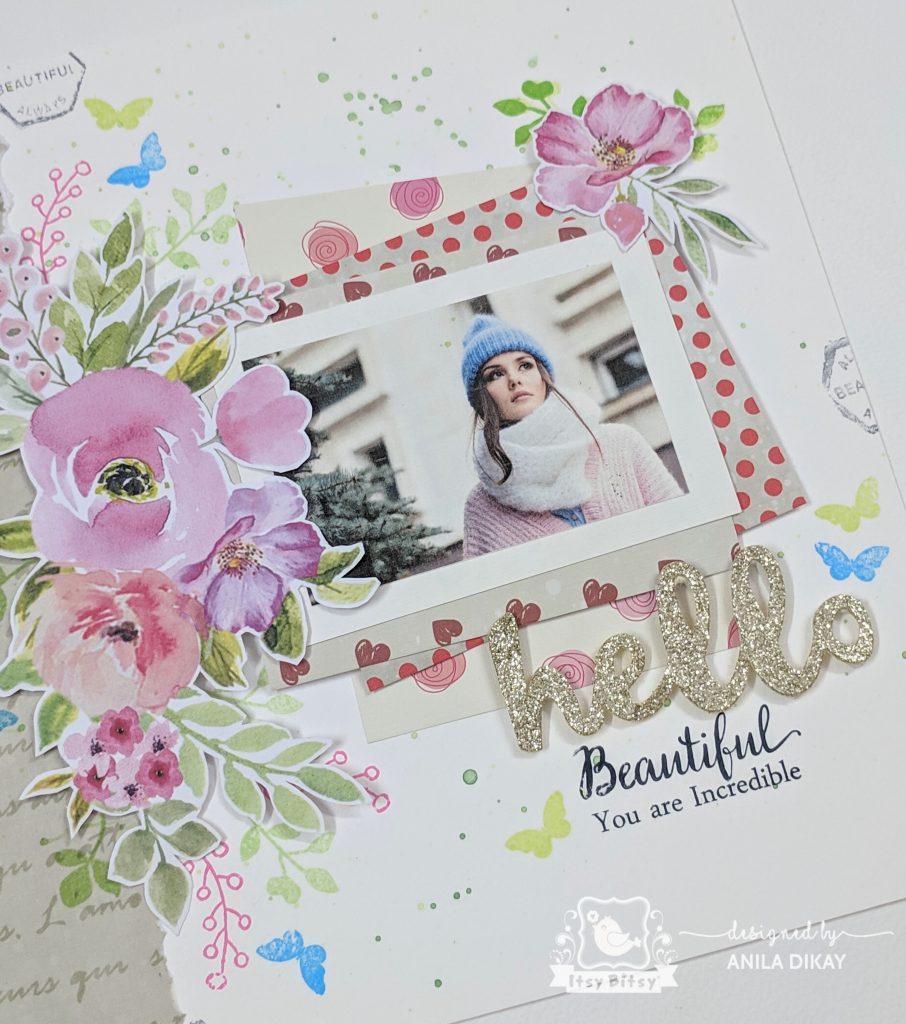
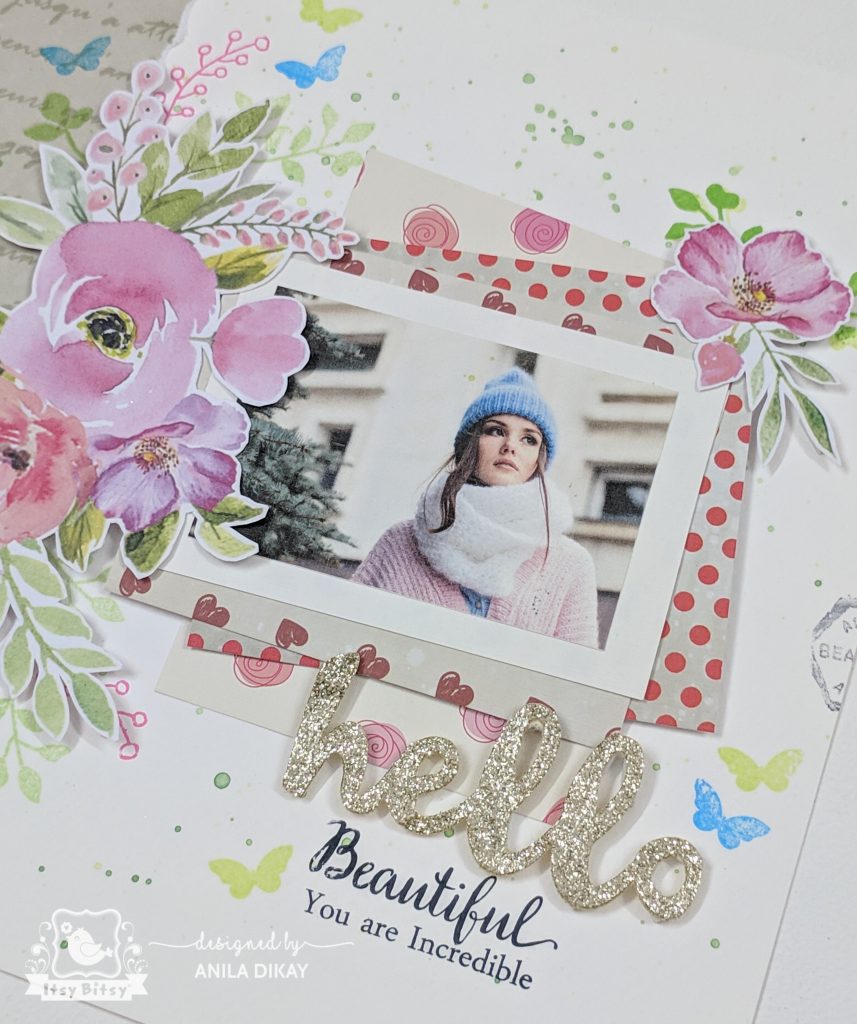
Hello Beautiful layout!

Hello everyone! 
 I am here with an adorable scrapbook layout made using the Love Story paper pack from Itsy Bitsy. This paper pack has some beautifully printed linen papers. The prints of the paper are perfect for any love themed projects. And as we are still in February, a month of love, I decided to make a Layout using this pack. 

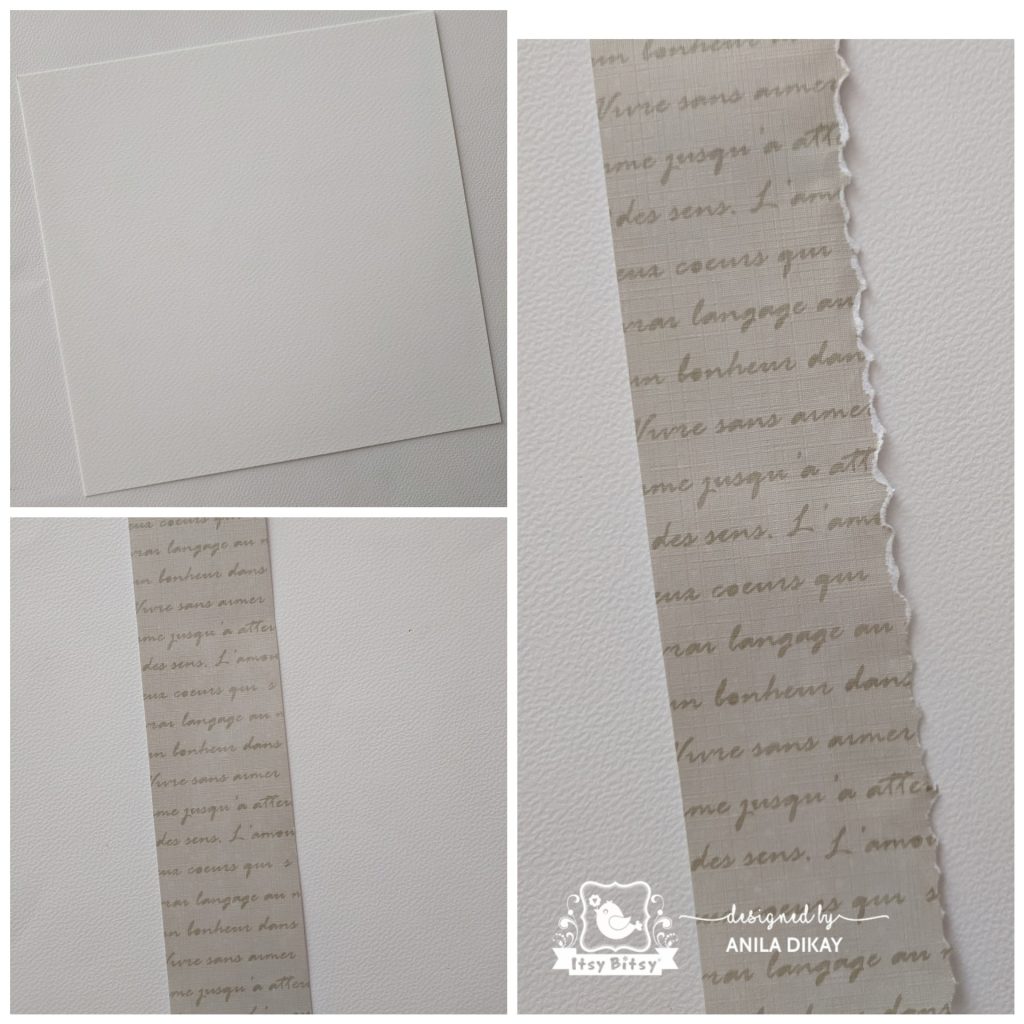
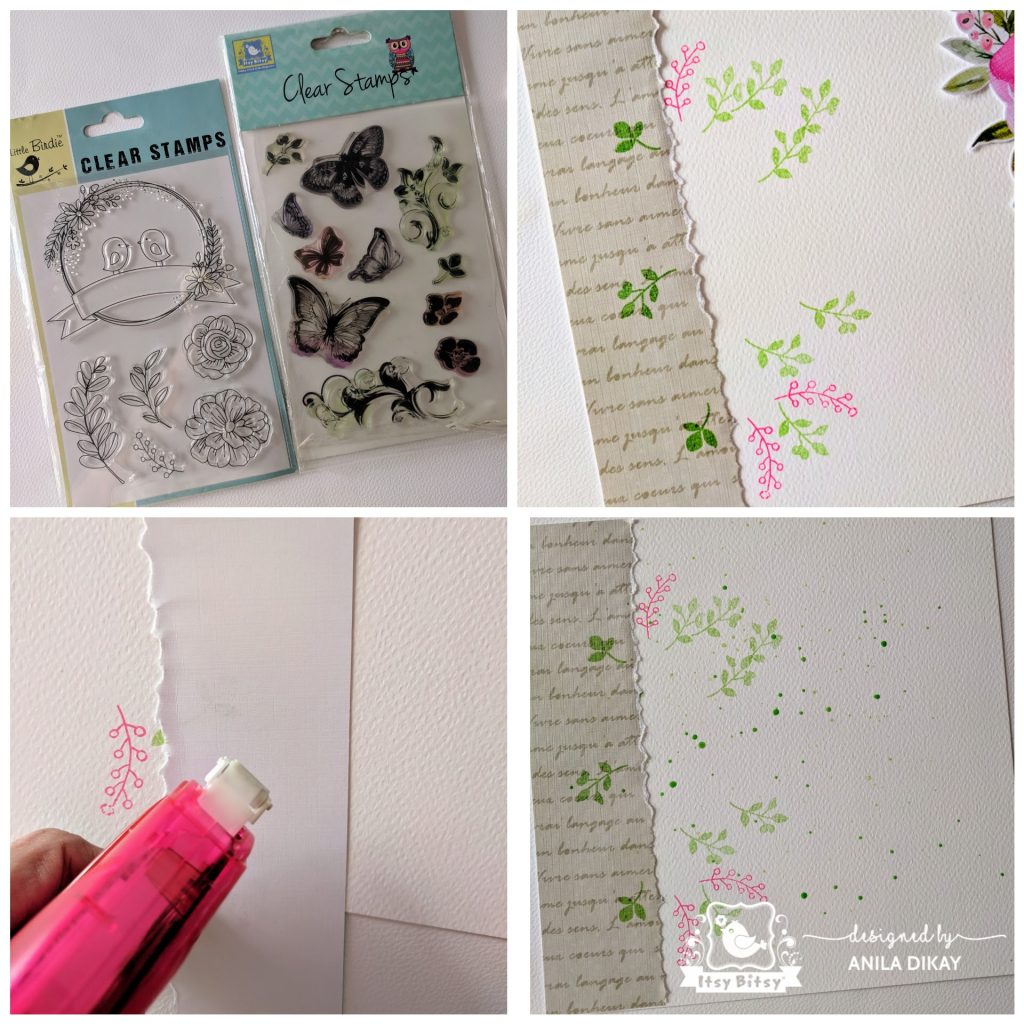
 I began by taking an 8"x8" square white textured cardstock from the store.  Next, I took a strip of the script paper from the pack.  
I distressed it at the edge by just ripping it with hands.


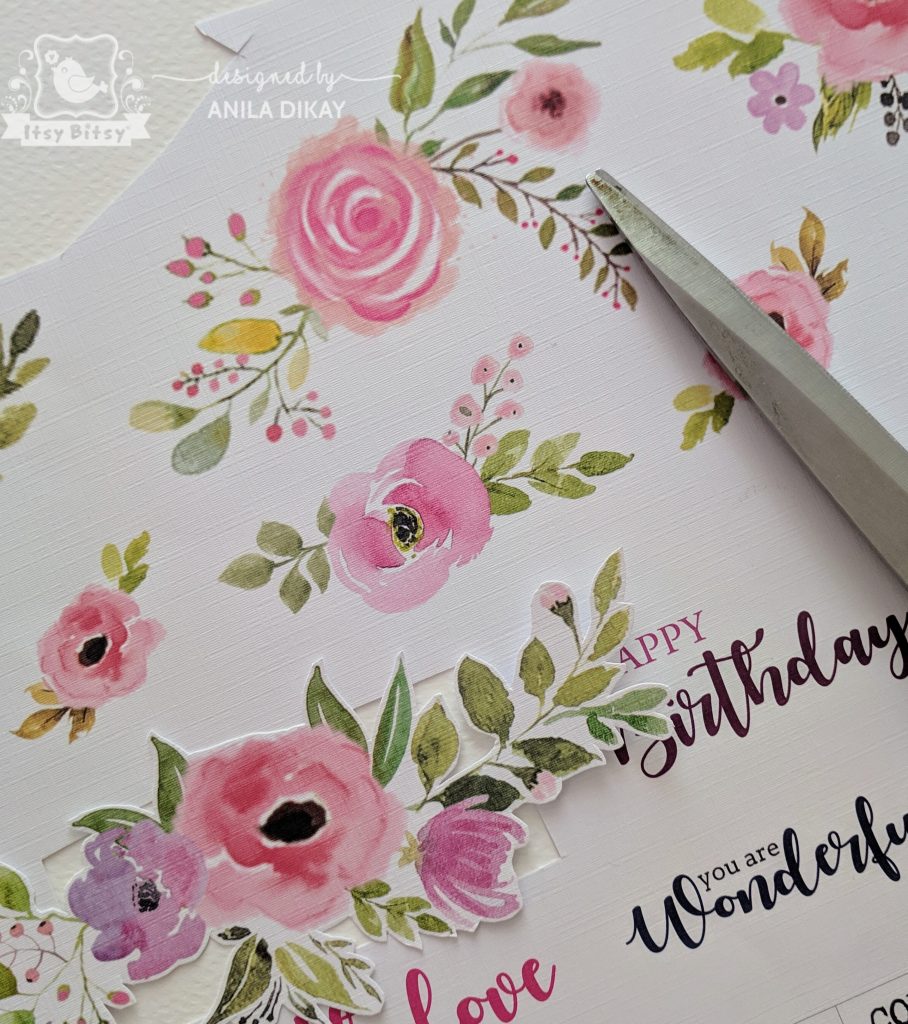
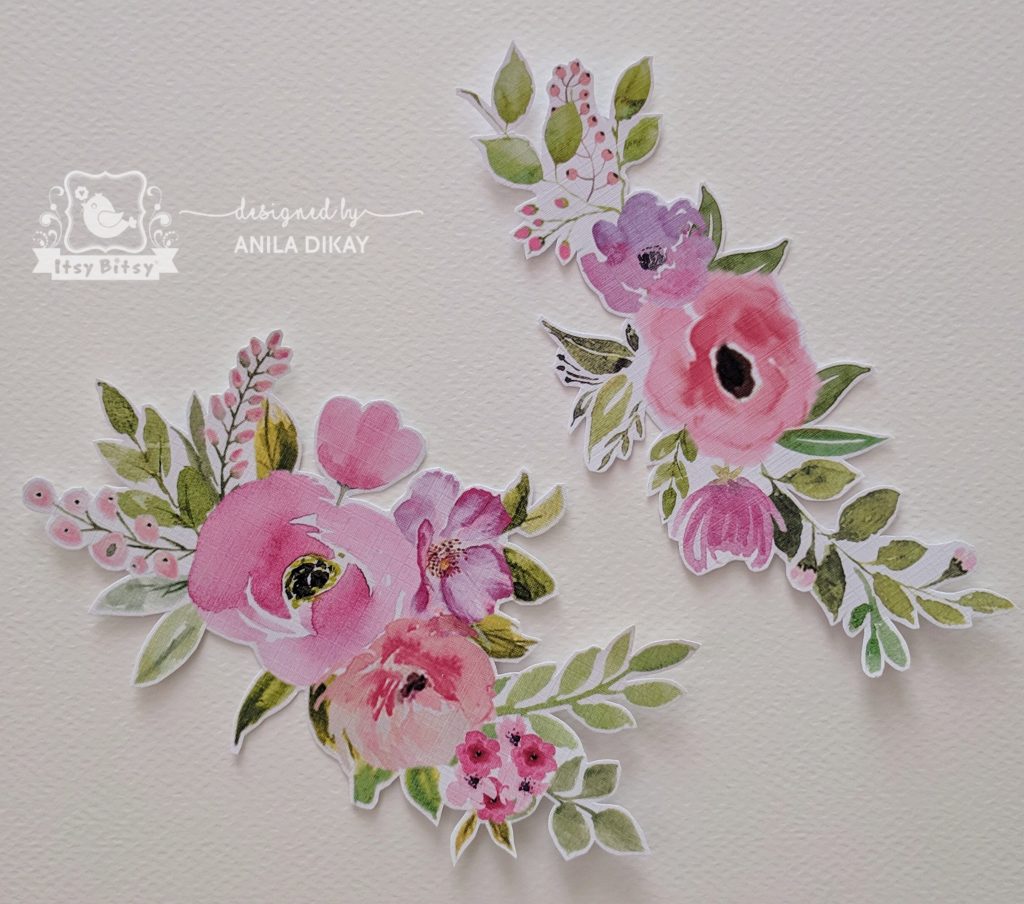
I took the elements sheet from the Floral Ballet paper pack from the store and fussy cut a few watercolour floral arrangements.


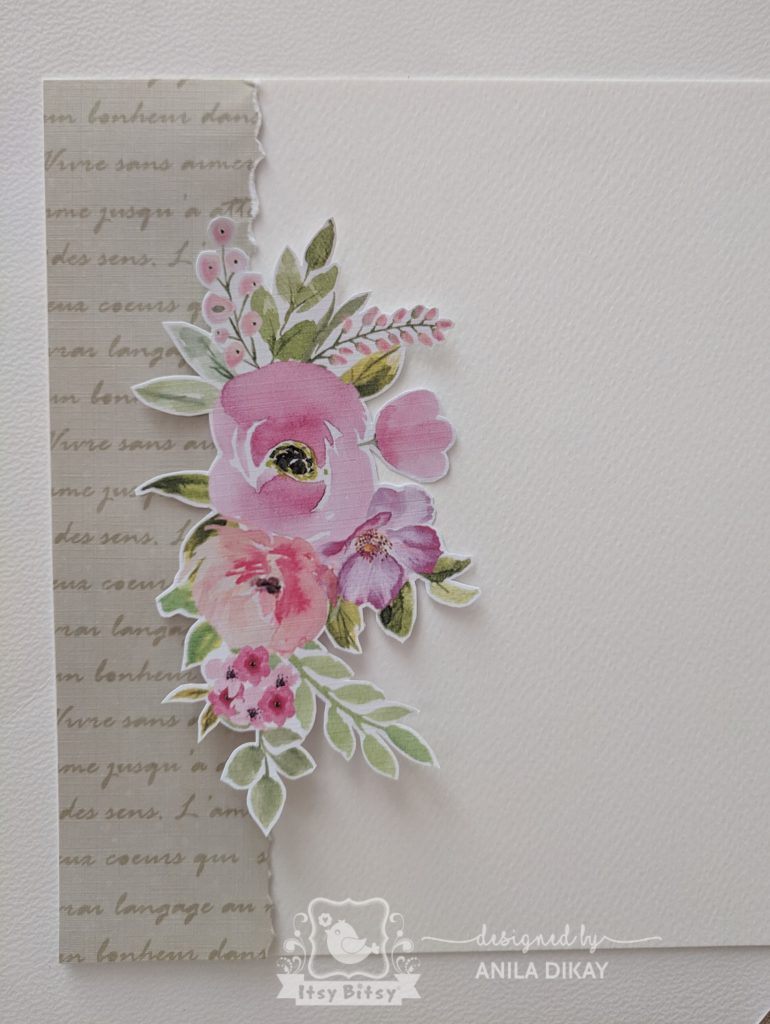
   I arranged the paper strip and floral on the base to understand how I want to add the other details.


Once, I was sure of the arrangement, I removed the floral and stamped a few leaves and other fillers. I have used two stamp sets.  Adhered the paper strip in place.  Added a few colour splatters on the base.


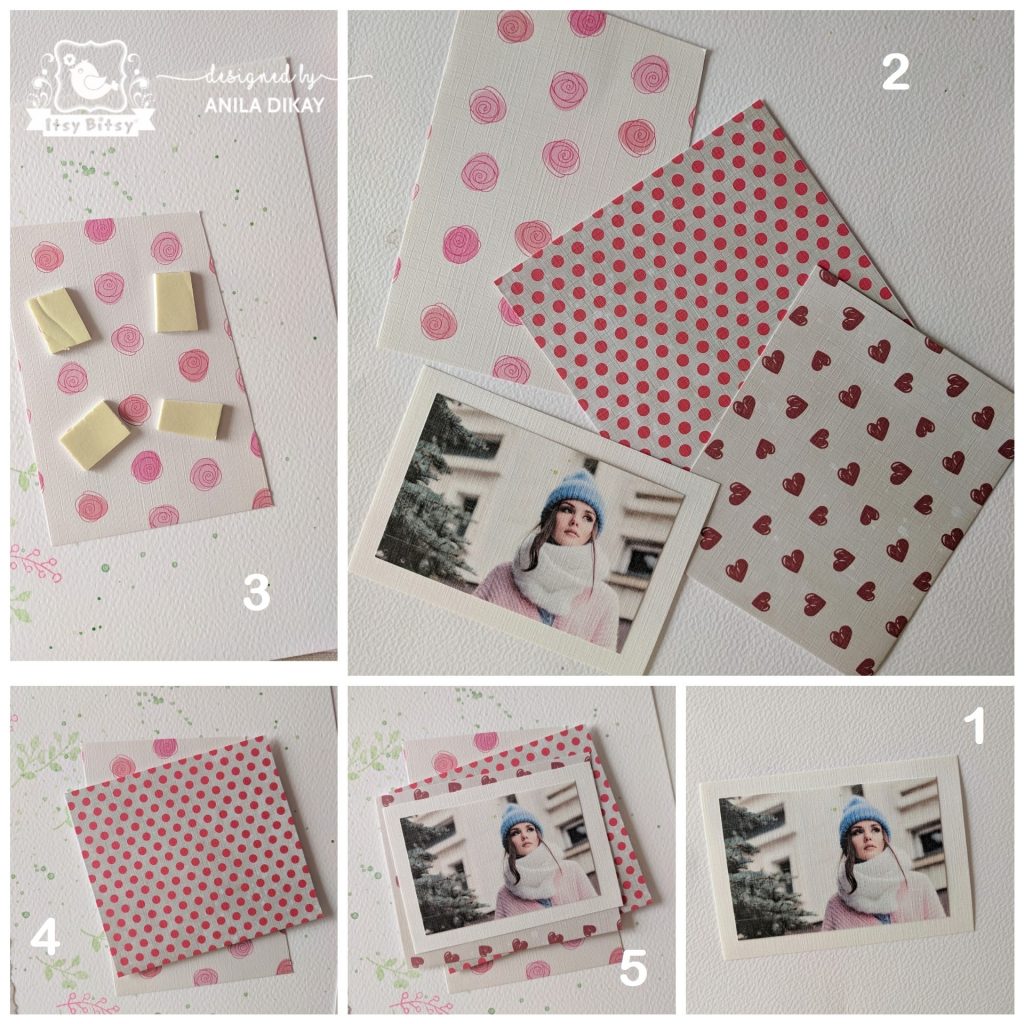
 I randomly cut a few pieces of other papers from the Love Story pack. I also printed a photo. Picture credit - Pixabay. I began by adhering the papers on the base, foam mounting a few layers.  Mounted the photo on them.


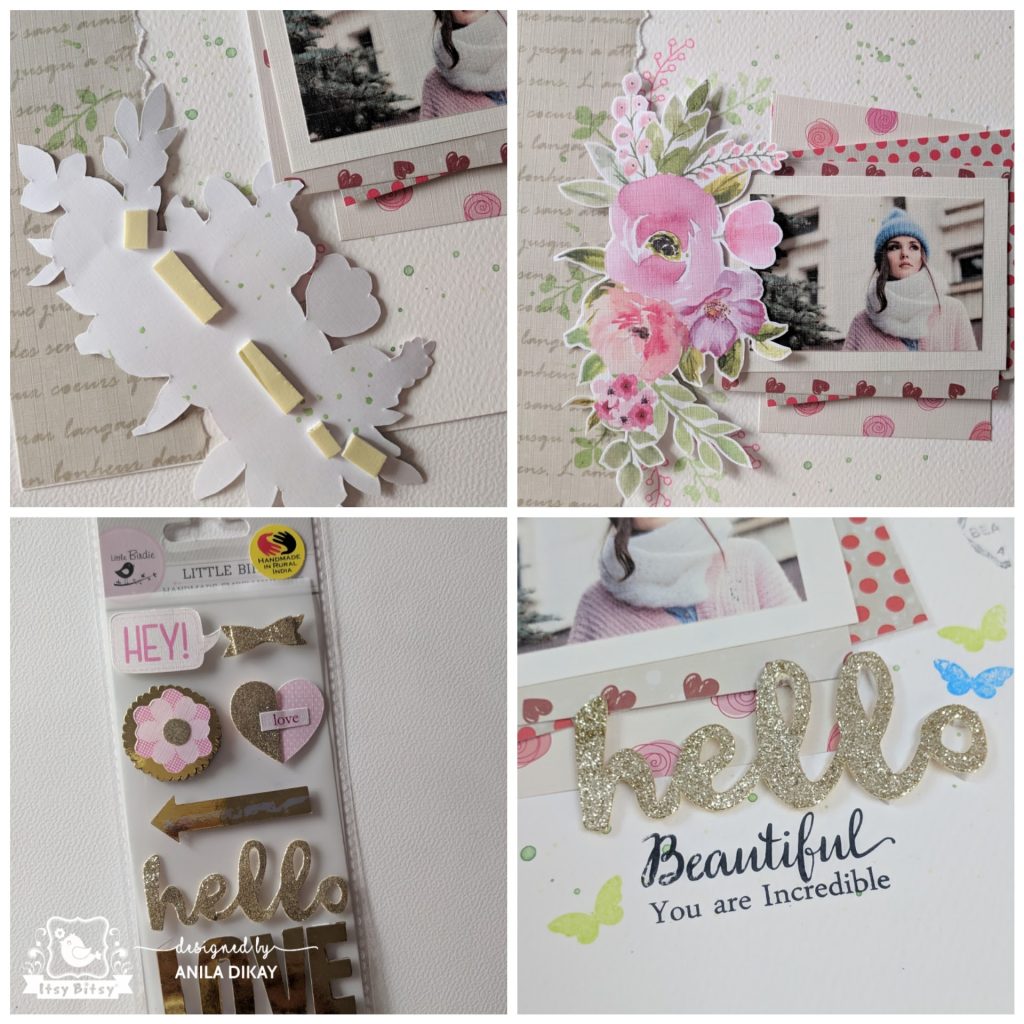
 Mounted the floral arrangement ass decided. By adding foam tape in between to elevate it. I added the gold glittery "hello" sentiment from the embellishments pack.  Stamped the other sentiments from my stash. Stamped few butterflies and other details in the overall layout.


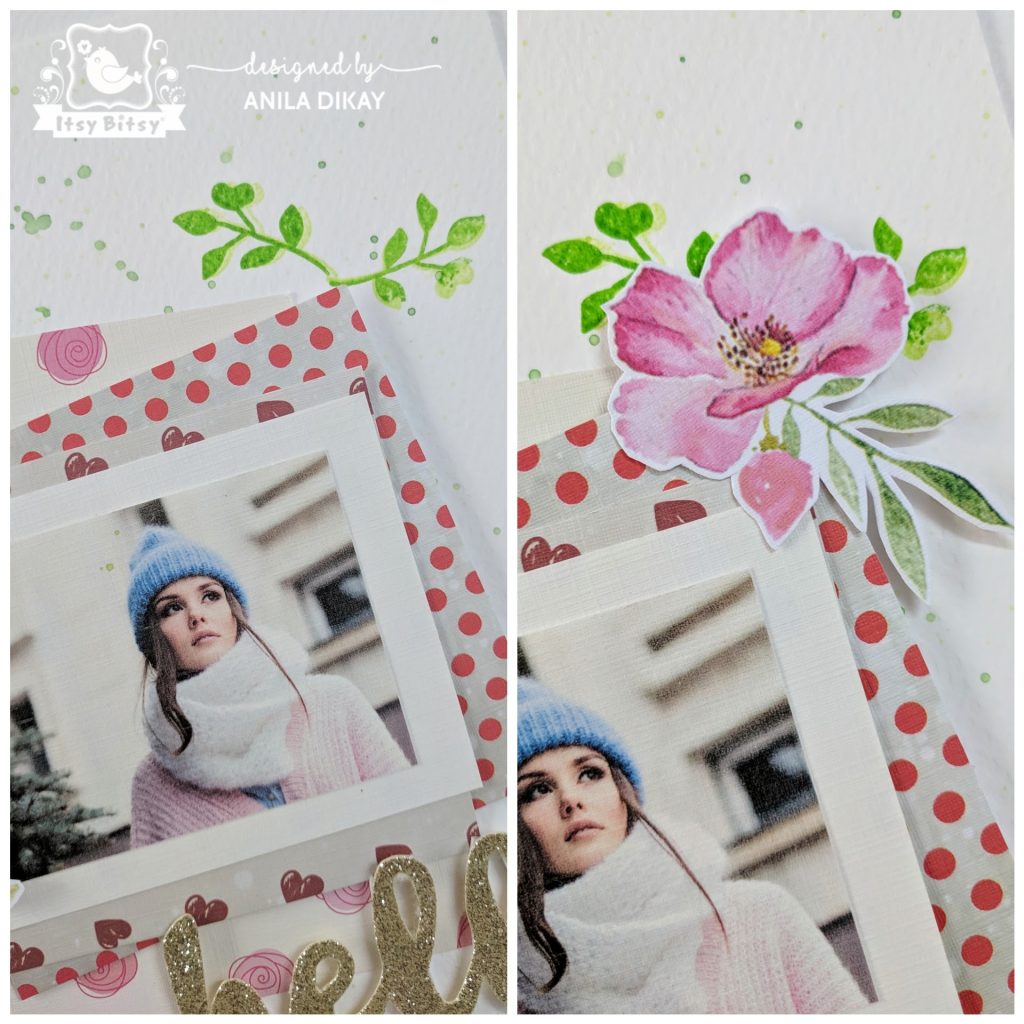
 Stamped few leaves in the other corner and adhered one smaller floral arrangement to complete the layout.


Here's the final look.


 That's all from me today! 
 It is always a pleasure to know how you like the project and the tutorial. Please pour in your feedback in the comments below, I find them to be very motivating. 

 Thank you and till the next time Happy Crafting! 


Saturday, 29 December 2018

Happy 1st birthday - Inkspirational # 177

Hello everyone!

ETA - The video tutorial on my YT channel for this card!

We are back with a new challenge over at Inspirational challenges.

Here is a set of cards I made for the new challenge where the theme is Word prompt - CASE
CASE a card made by you or by someone else.


I have Cased one of my own cards which I had made some time in the month of March. 
You may find that card HERE

This card is one of THE most popular and THE most viewed card on my blog. I am so humbled by all the love it has received so far. I so love this card myself that I decided to make a couple of them more.  

For the first card, I cased the design as it was on my original card. I have used the same Lawn Fawn stamps for it. 
While the second card was made into a girly theme using stamps by Itsy Bitsy.
The basic construction of the card remains the same. You may please refer the original post tagged above for the reference.


That's all from my end! 
Do hop over the blog to check other beautiful creations by my friends. 

Looking forward to seeing your entries in the gallery. 

Pin this card from here


Saturday, 29 April 2017

Altered Burlap

Hi!
I have a Burlap altered art over the blog today. 


  • Took a piece of chipboard, covered it with burlap. 
  • Stencilled the burlap with blue and yellow chalk paint. Also coloured the chipboards with chalk paints and let them dry. 
  • Adhered blue and yellow lace at the top and bottom of the board. 
  • Arranged the doily, chipboards, leaves, flowers and butterflies on the board. 
  • Took a sentiment and some words, distressed it with blue ink at the edges, and mounted them on the board with foam adhesives to give some dimension.
  • The empty spaces are covered with cup sequins to add some element. 
  • Adhered a photo in the centre.
Here are few more pictures...


Thank you for dropping by my blog.


Entering this project into
ItsyBitsy blog challenge # 4-2017
Scrapping4fun - Anything goes
thecraftyaddicts - Anything goes / Add a sentiment
Stamplorations - Mixed media - Stencil
getcreativechallenges - Use flowers and laces
pennyschallenges- Anything goes
jwscrapshack - Anything goes
lovetocraftchallengeblog - Anything goes
ttcrd.blogspot

Friday, 7 April 2017

Mixed media nameplate / fridge magnet

Hi!
Today I am here with two mixed media projects.

Nameplates and a fridge magnet

The Nameplates


These are customised nameplates made as birthday return gifts. 
To make these nameplates I first applied white gesso to the wooden base. Used texture paste and stencil to create the background texture design all over the base. After heat setting it, I used colour splash sprays over the base. 
With the help of Shilpakar, I made the face of the girl/boy and painted them. Using a small amount of Shilpakar I adhered the faces onto the bases. 
I took stitched circle die-cuts, covered it with gesso and let it dry. I mounted these die-cuts on the wooden base along with double tapes and a strong liquid adhesive. I stuck the alphabets on the circle with liquid glue. 

Here are the close up pictures....


My next project is a fridge magnet. 

Fridge magnet


To make this fridge magnet I first applied white gesso to the MDF circle base. Used texture paste and stencil to create the background texture design all over the base. After heat setting it, I used colour splash sprays over the base. 
I adhered a magnetic sheet to the back of the MDF. 
I embellished it with some flowers and pollens. 
I used a heart die cut and mounted it on the base using double tape and a strong liquid adhesive. The photograph was then mounted on the heart shape. 
Lastly, I used the die cut word "US" painted it with black and glitter and mounted it over the base with double tape and strong liquid adhesive.

Here are few more pictures of the magnet. 


Thank you for dropping by my blog. Hope you enjoyed my post. Kindly leave your valuable feedback in the comments below.

Regards,
Anila Dikay

Entering this project in the following challenges -
Craftyscrappers - Anything goes
Happy little stampers - Sprays
stamplorations.blogspot.in - stencil-sunday-april


Sunday, 26 March 2017

Altered bottle 2

Hello Crafters,

Altered art!!

Recycling is a noble cause and it is indeed a great pleasure when you can contribute to it in your own small way. 
I am addicted to collecting things which may be refurbished to form something beautiful. Though not all may go through the refurbishing process. Some keep lying in my stash waiting for their turn to come. 
Today one such lucky perfume bottle got the makeover for sure. 
It was a rebirth for the bottle, though this time round it became a decorative piece of art.

Here's a brief look with the before and after effect.


I began with painting the entire bottle with Chalk paint from Itsy Bitsy. Once the paint was dried I tied a paper rope to the cap of the bottle. I embellshied the bottle with doilies, flowers, lace, thread, leaf die cut and a mariposa butterfly.

There the bottle is ready to be showcased. :-)

Here are few more pictures of the same.


I am in the process of reviving few more Perfume bottles. Hope you liked my revived version of this bottle.
Do leave your feedback in the comments below.

Regards
Anila Dikay

Entering this project in the following challenges
ItsyBitsy blog challenge#3-2017 - Anything Goes using  Little Birdie  Matt Chalk  Acrylic paints
pennys challenges - Anything goes
jwscraps.blogspot.in- Anything goes
LTCCB # 8 - March Anything goes 


Saturday, 18 February 2017

Shaker Fridge magnets

Hello, everyone!
I am so very happy to share a very fun-filled and very cute creation with you all. 
Die-cut fridge magnets! 

I had lots of fun creating these magnets. The most important and fun part about this is that these fridge magnets can be made in absolutely any theme. 
You think of it and it can be done.
Just imagine!!
These can be a wonderful gift for kids. 

Sit back and enjoy the post.
(Warning - This is a picture heavy post!!!)


Owl Magnet !!
This is a shaker magnet. I have used green and brown shaker elements to give the effect of nature. The die-cuts are also green coloured. A die-cut leaf is attached with an owl sticker embellishing it. Attach a magnet sheet from behind.


Little Birdie!!
This is again a Shaker magnet. I have stamped the birdie image and the sentiment on the inside and used tiny heart die-cuts as the shaker elements. Flowers are used for embellishing. Attach a magnet sheet from behind.


Nemo Magnet!!
The Nemo-magnet is a scene magnet and not a shaker magnet. All the elements inside are stuck on the inner paper. The fish goes on the top. This gives a great 3D effect in actual (unable to catch that in the photo) Used Chevron print blue paper inside to give the water effect. Attach a magnet sheet from behind.


  Flower magnet!!
Again a Shaker magnet. Stamped a sentiment inside and used tiny floral shaker elements. Embellished the magnet with some beautiful flowers. Attach a magnet sheet from behind.


There they are!! My Fridge magnets!!!

How do you like them? So when are you trying your own? 
Do let me know if you ever try them!
Please do leave your feedback in the comments below, would be absolutely delighted to read through them. 

Materials used - 
  • Scalloped thin cut dies from Itsy Bitsy
  • Pretty in pink and Aquarelle chevron papers from Itsy bitsy.
  • Stickers, flowers, sentiment stamps from Itsy Bitsy
  • Magnet sheet
  • Shaker elements etc.

Regards,
Novel-Ideas
Anila Dikay


I am linking this project to
Itsy Bitsy challenge #2, 2017 
Simon says stamp - Monday challenge - Favorite tool (Sizzix die-cut machine)
Simon says stamp - Wednesday challenge - Fantastic floral (The pink magnets are embellished with flowers)
Scrapping for fun - Anything goes
Abit more time to craft - Anything goes
A perfect time to craft - Anything goes
HLS - Anything goes with dies
cutitup challenge - 115 - Bendy or scene cards
diecuttindivas - Valentine colors - challenge # 304
diesrus - spring time